Crack Stitch Kits
Read more about Strucsol Crack Stitch Kits below
Loading products...
Strucsol Ultrabar Composite Crack Stitch Repair Kit (SMALL)
Strucsol Ultrabar Composite Crack Stitch Repair Kit [MEDIUM]
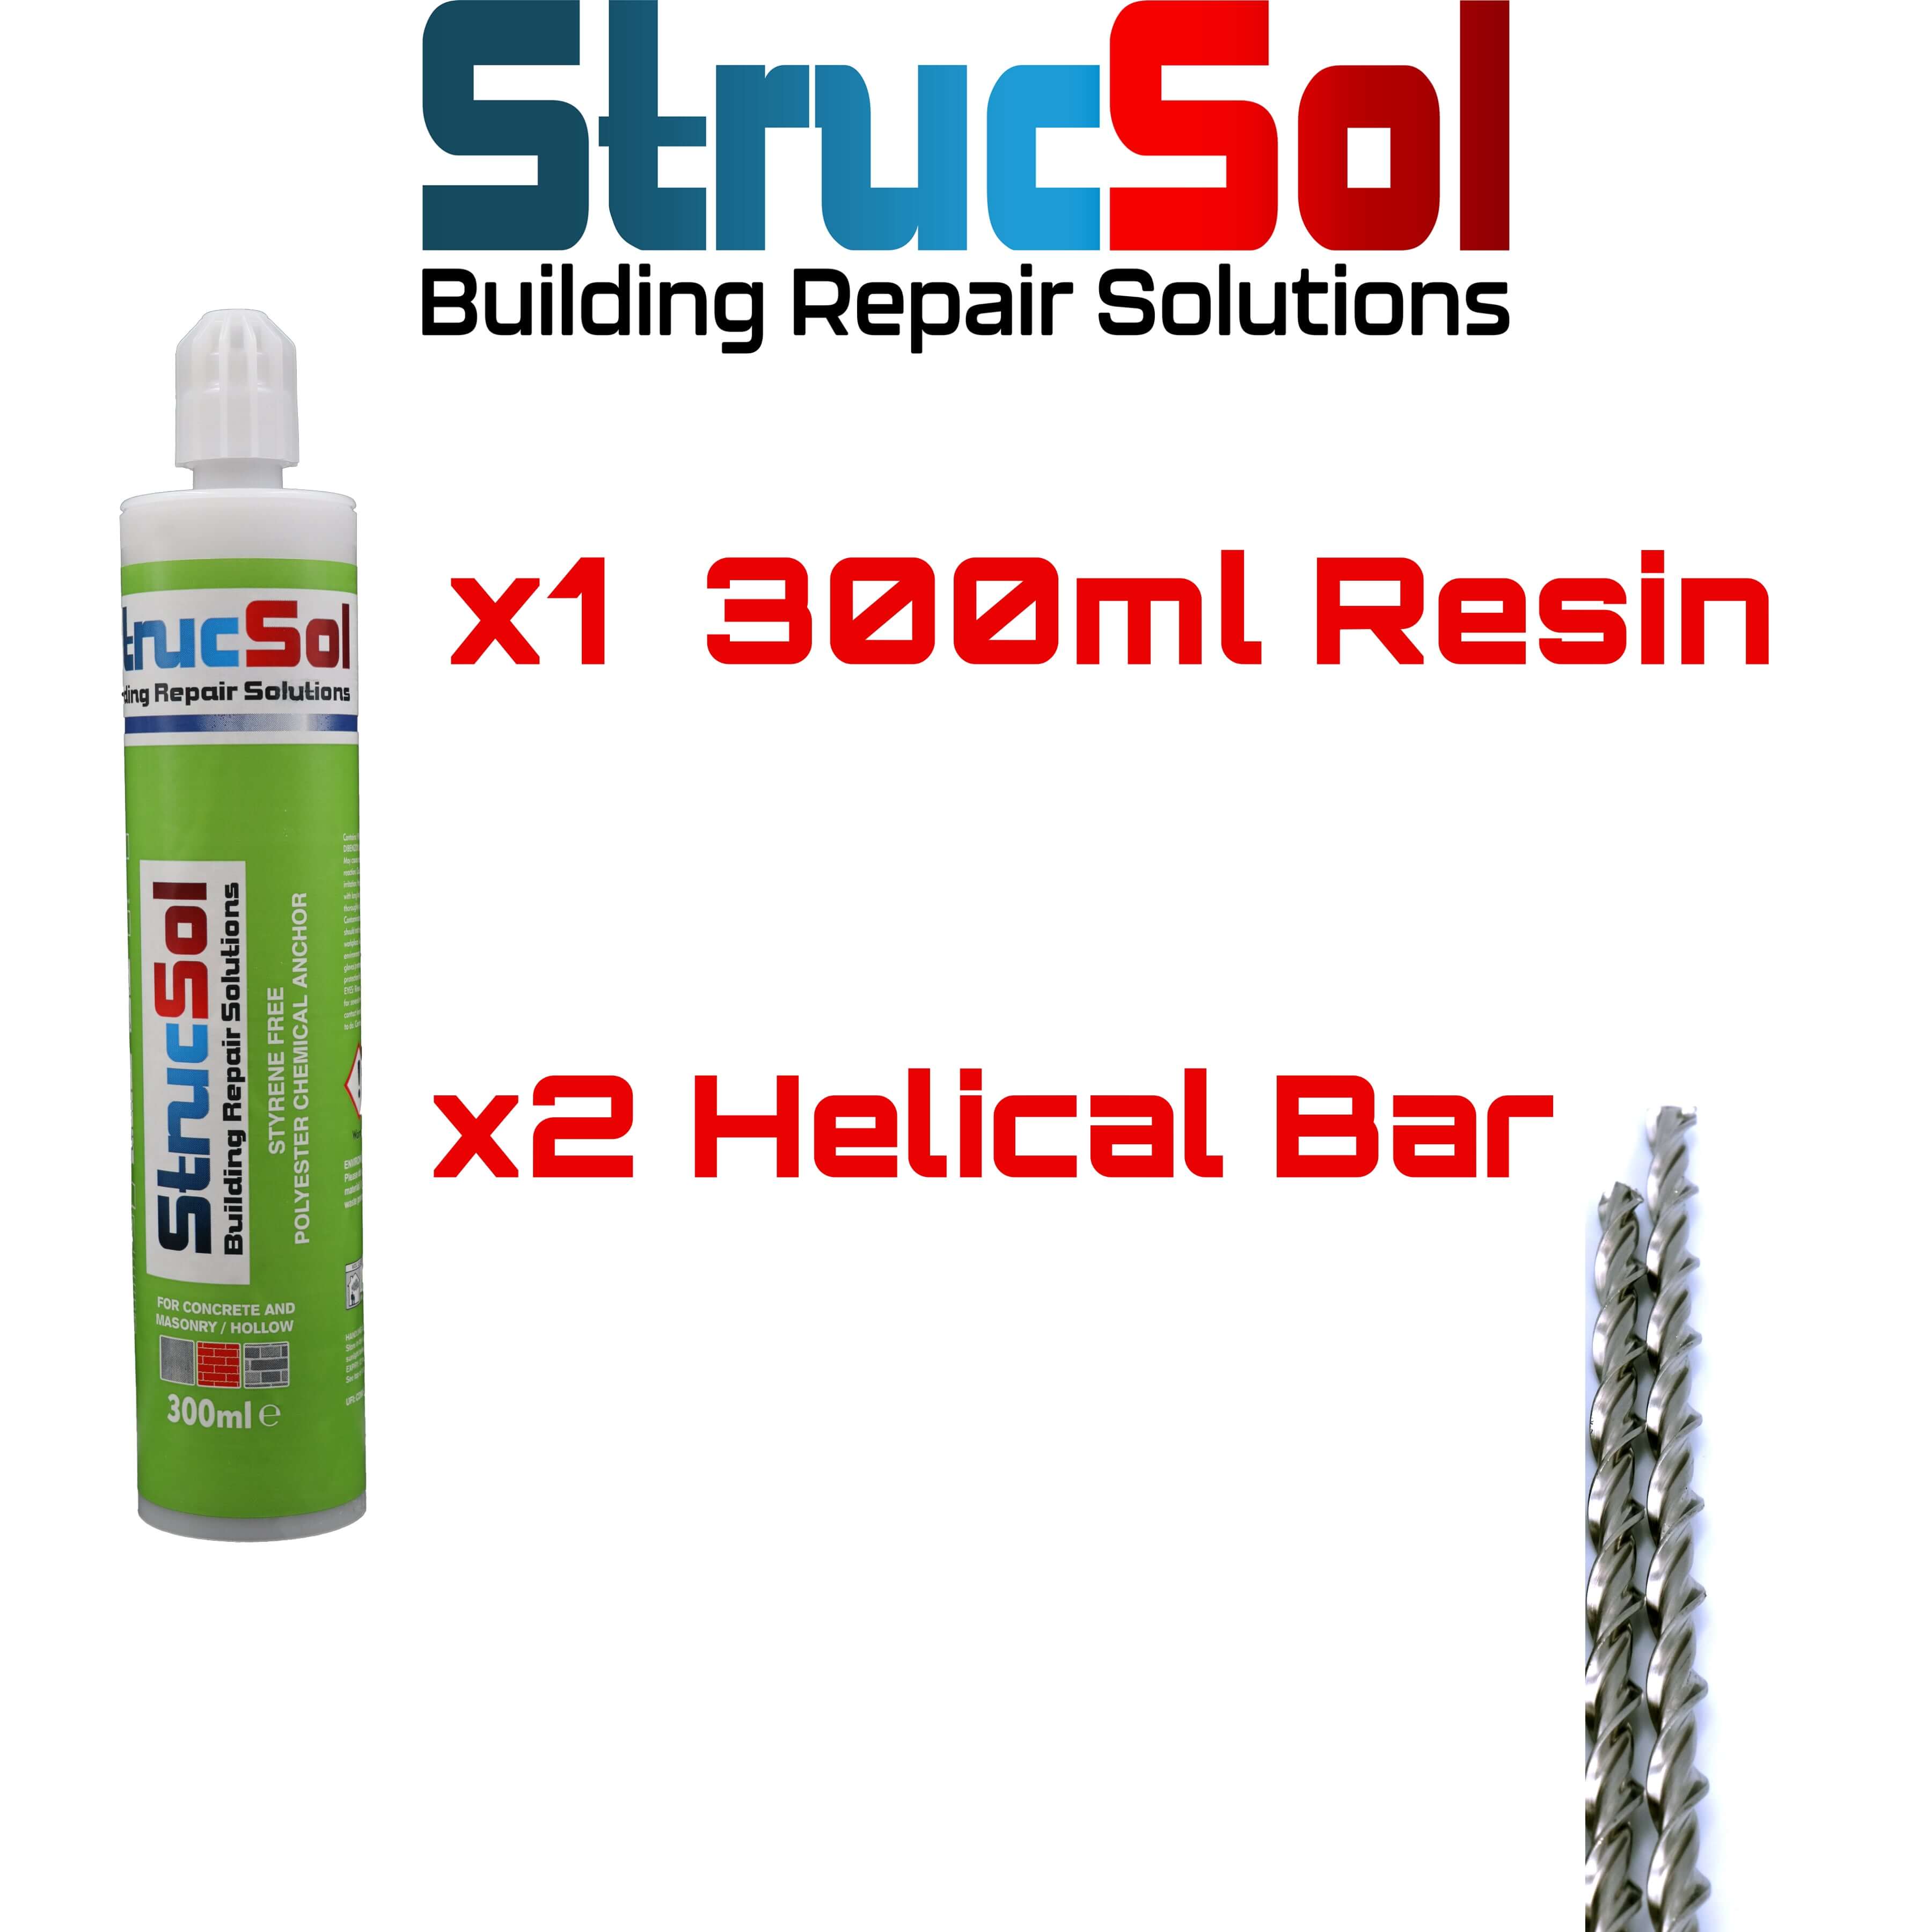
Crack Stitch Repair Kit | Strucsol 300ml Kit
Crack Stitch Kits Information
High quality crack stitching kits available for next day delivery
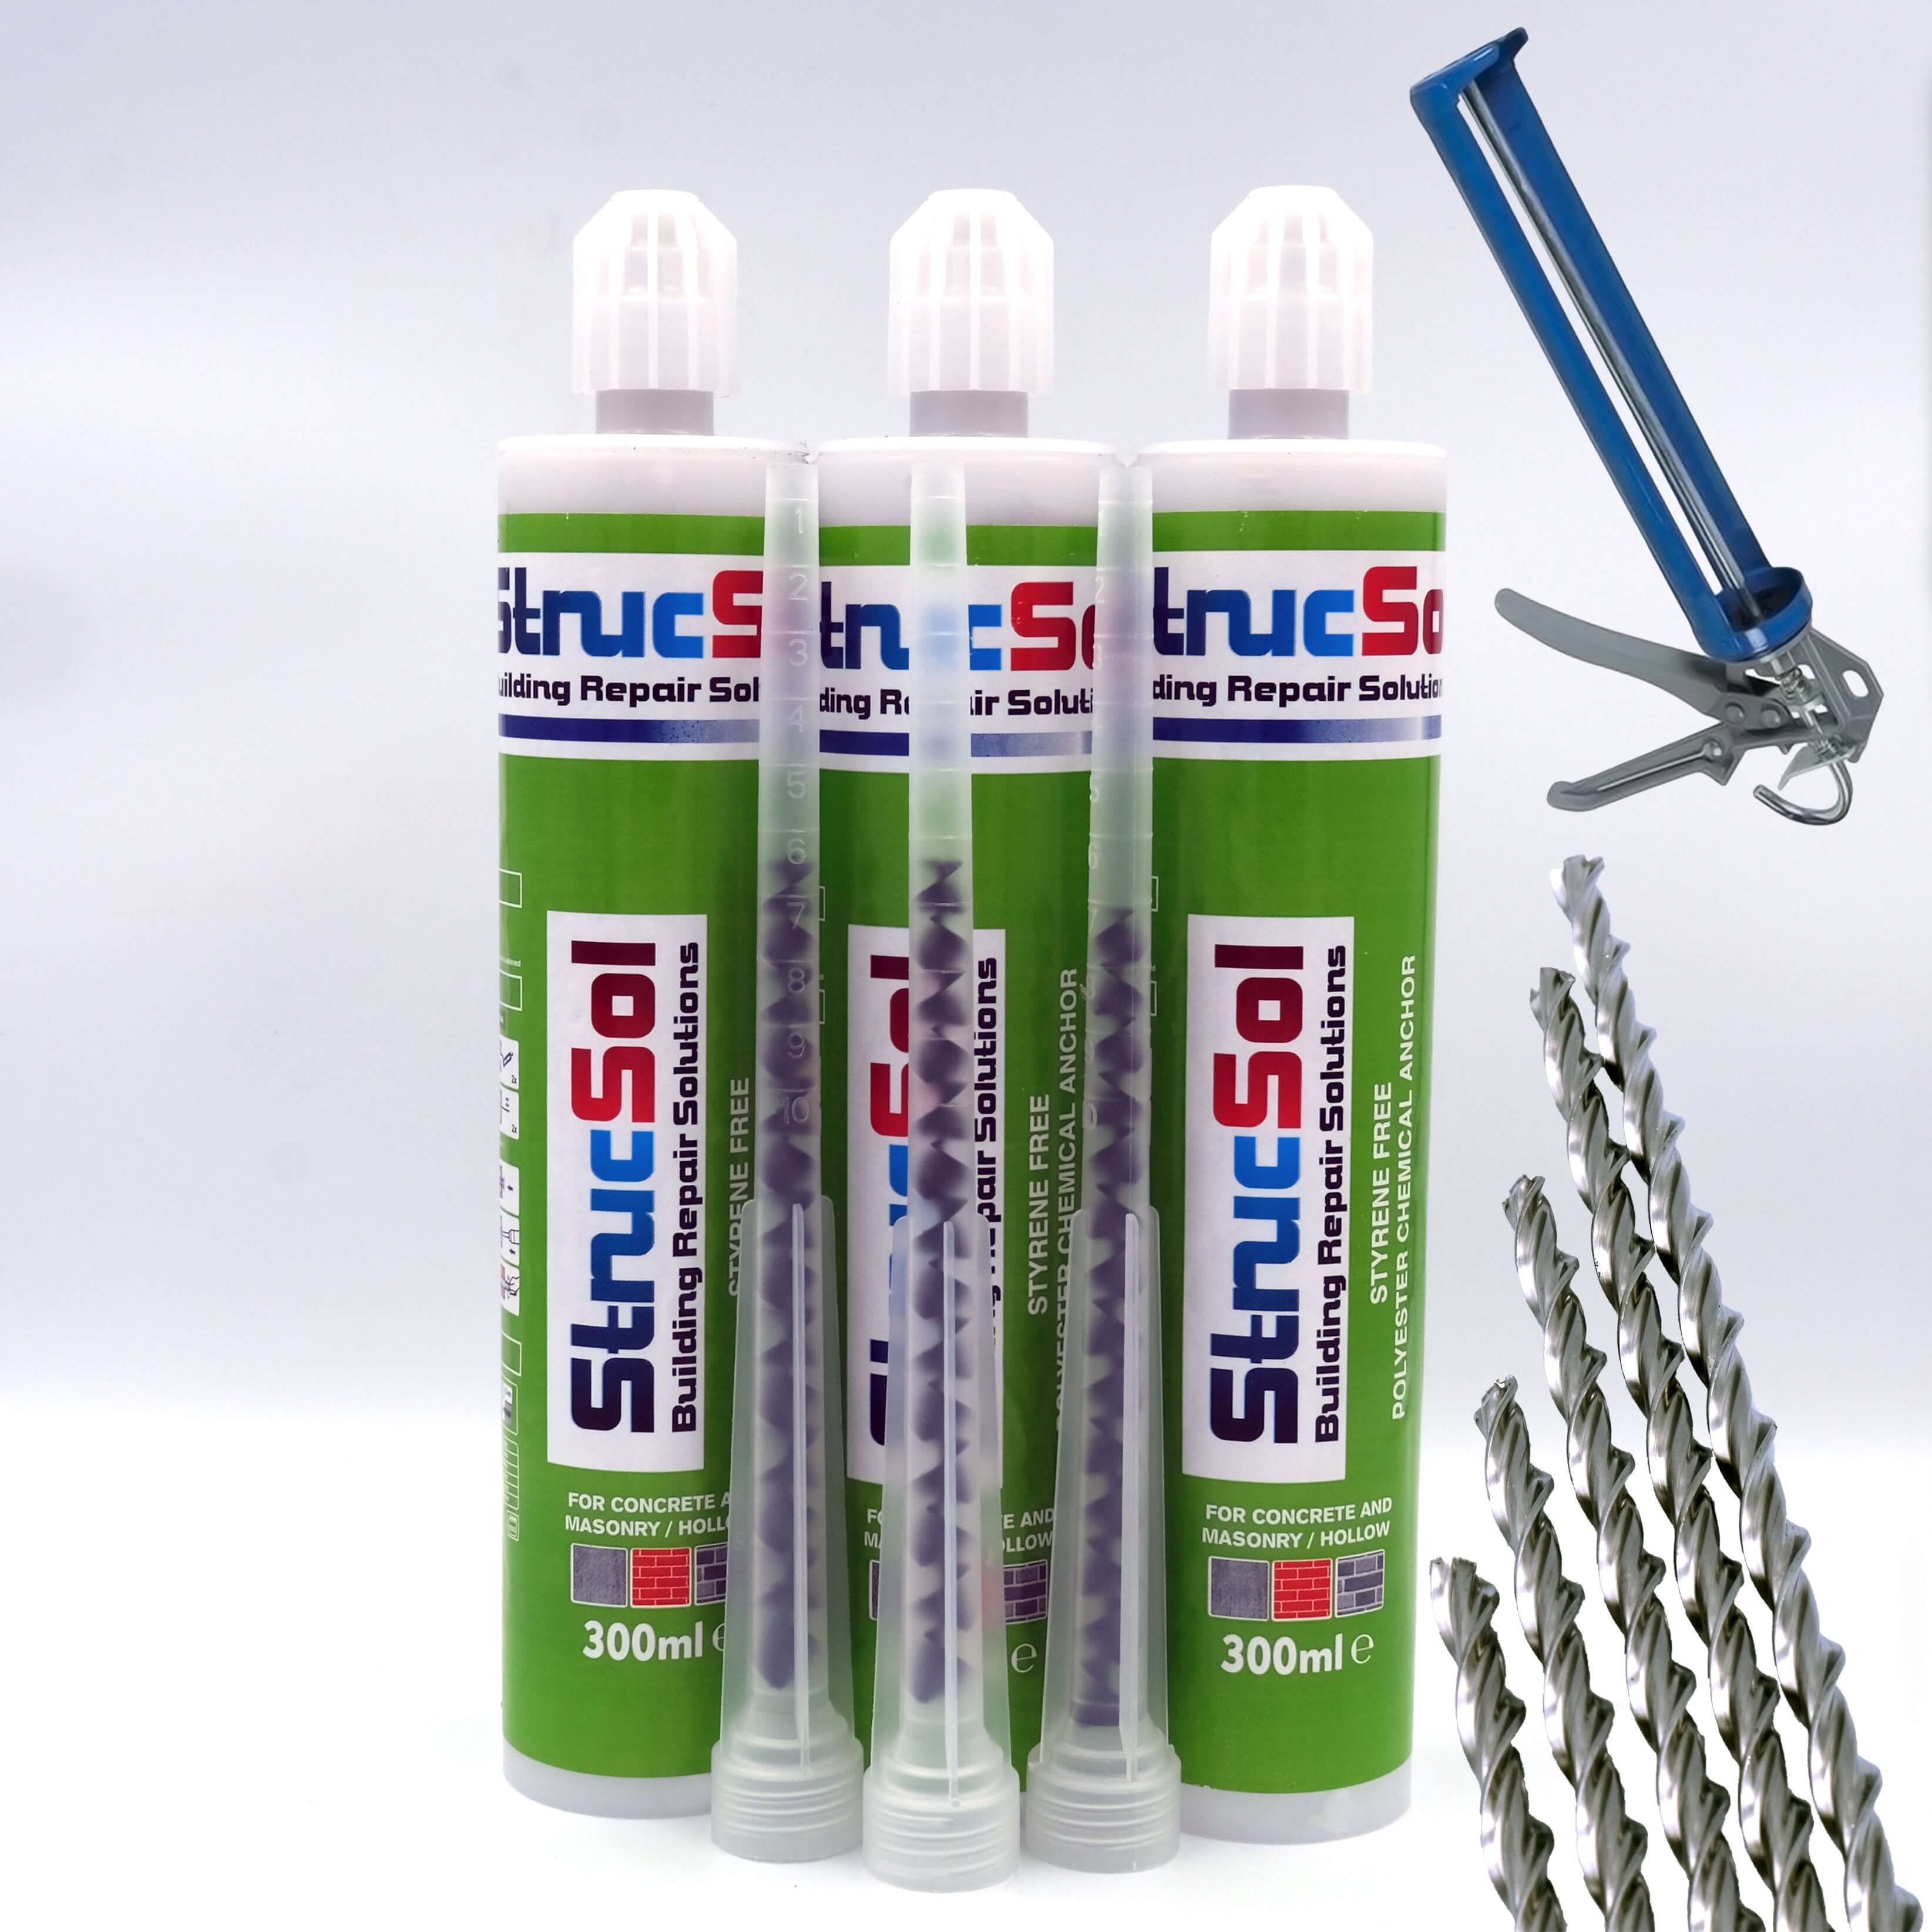
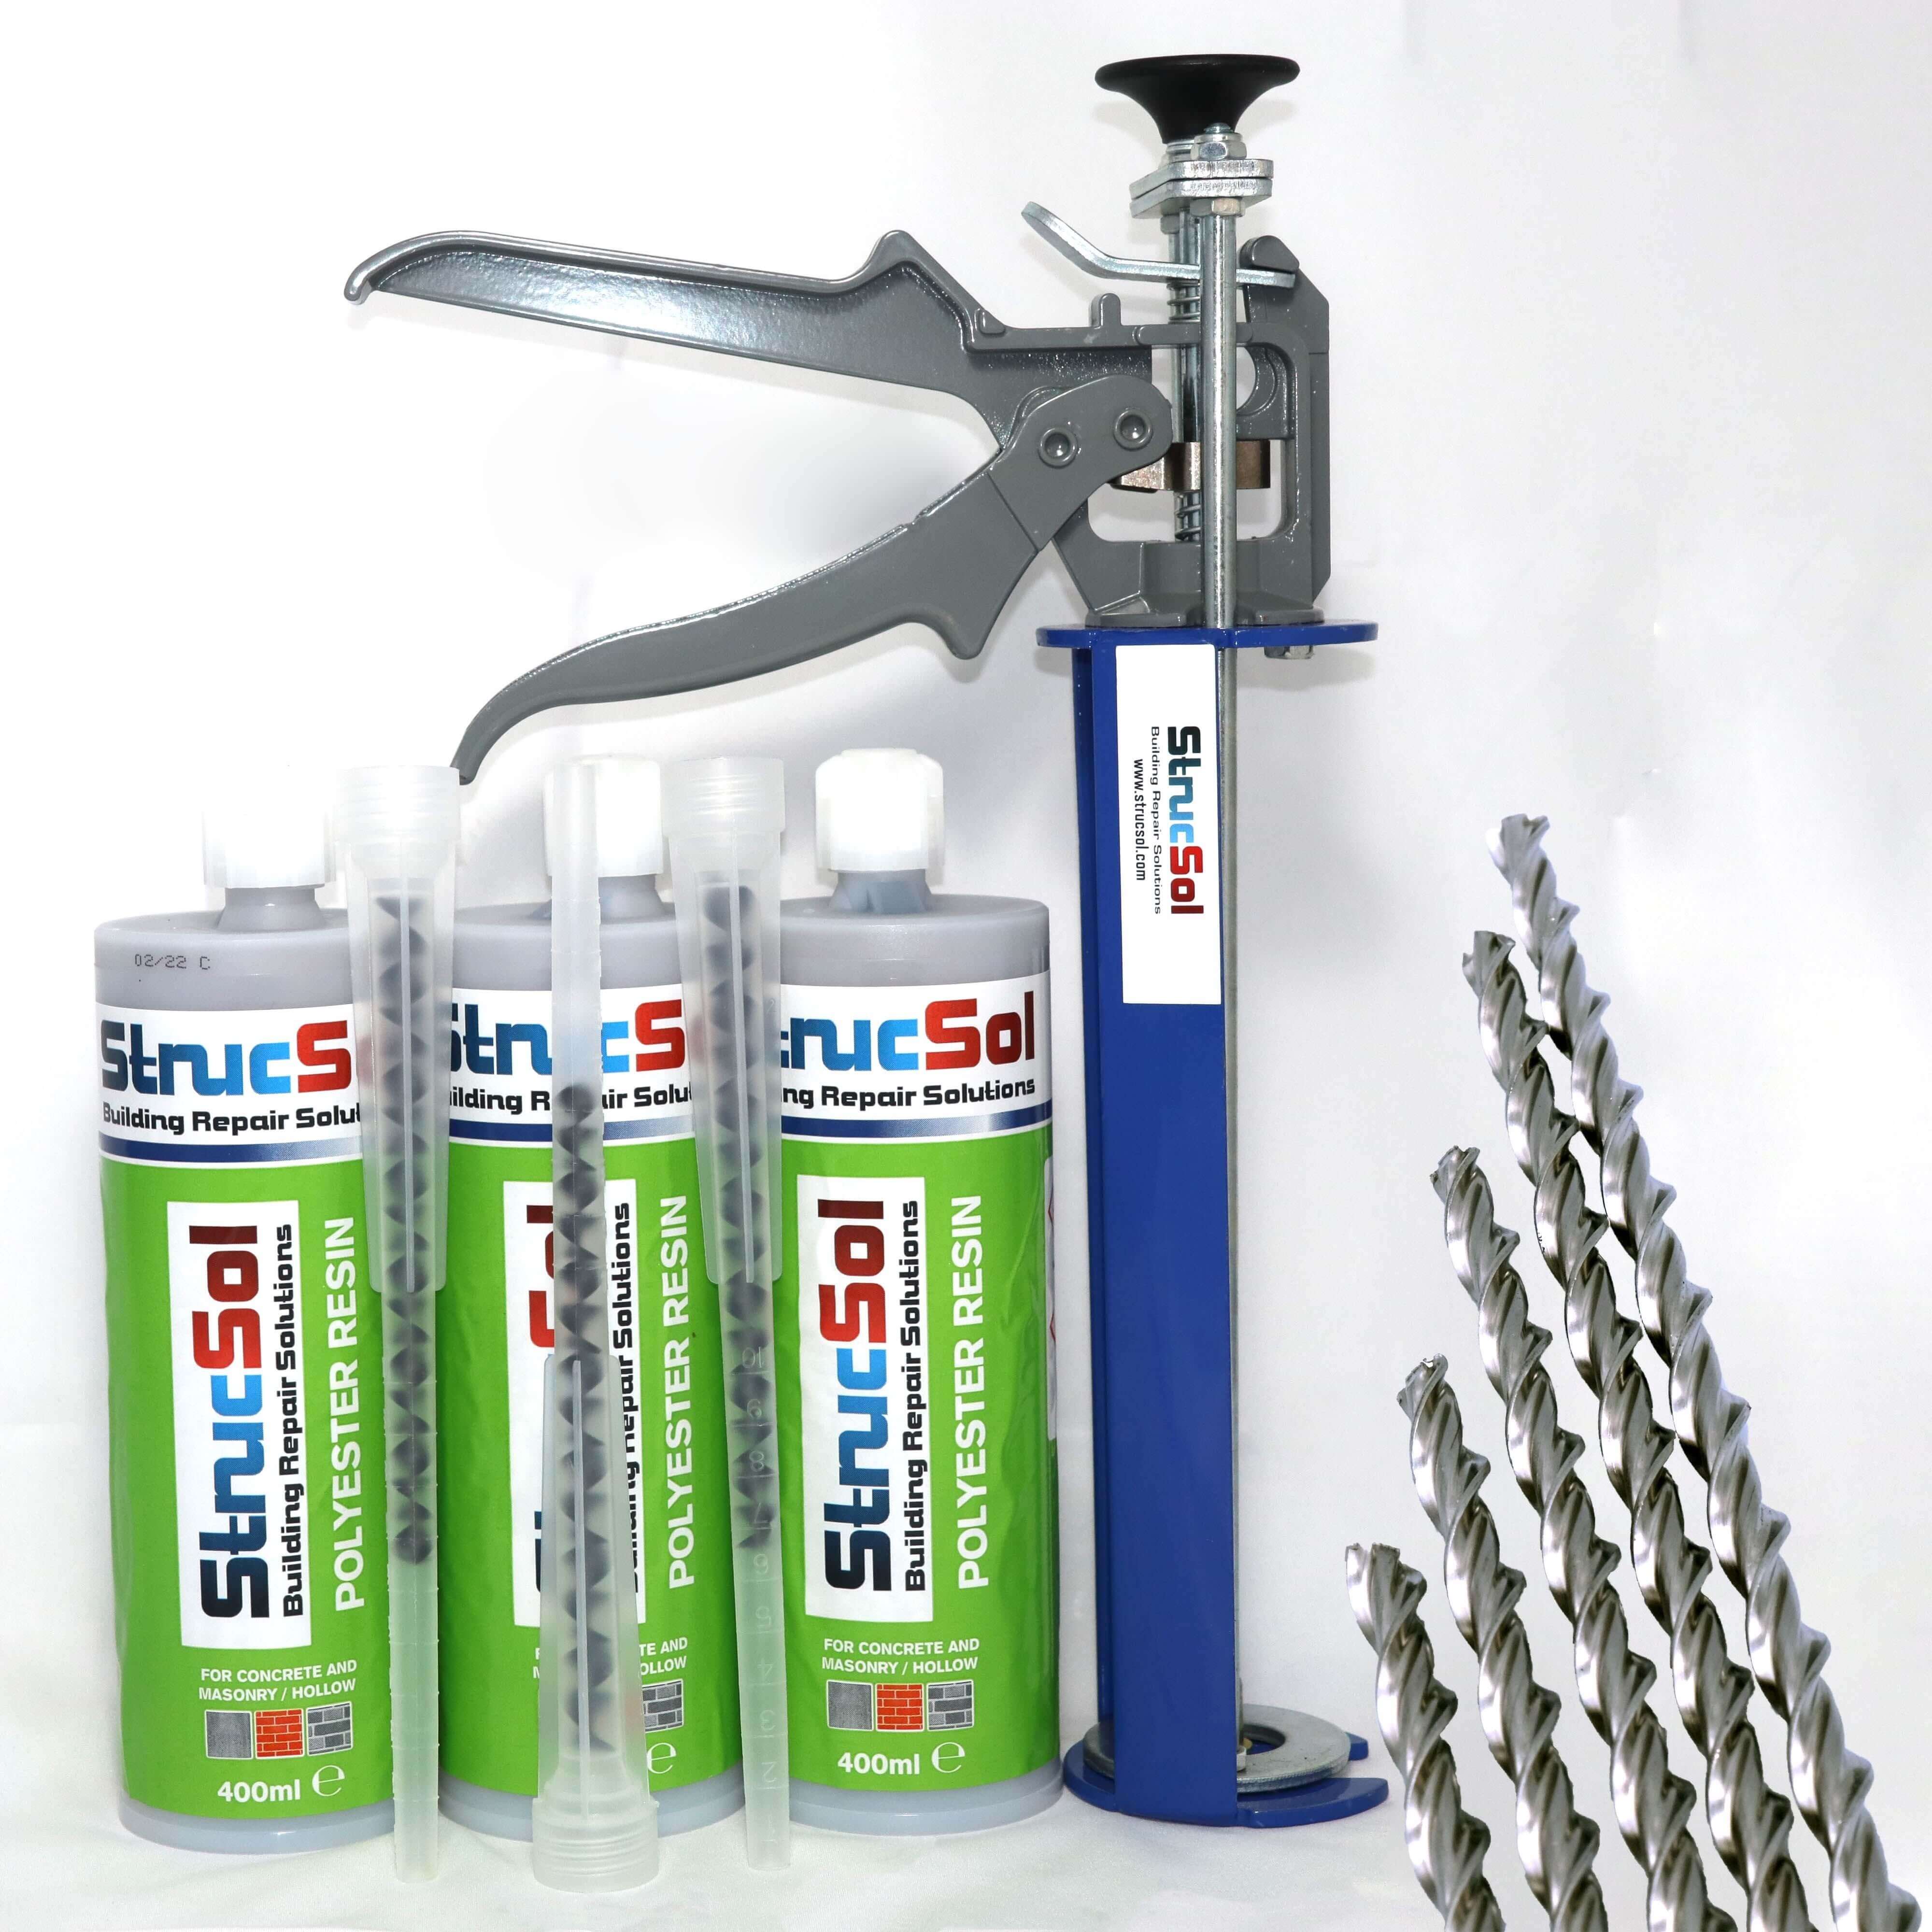
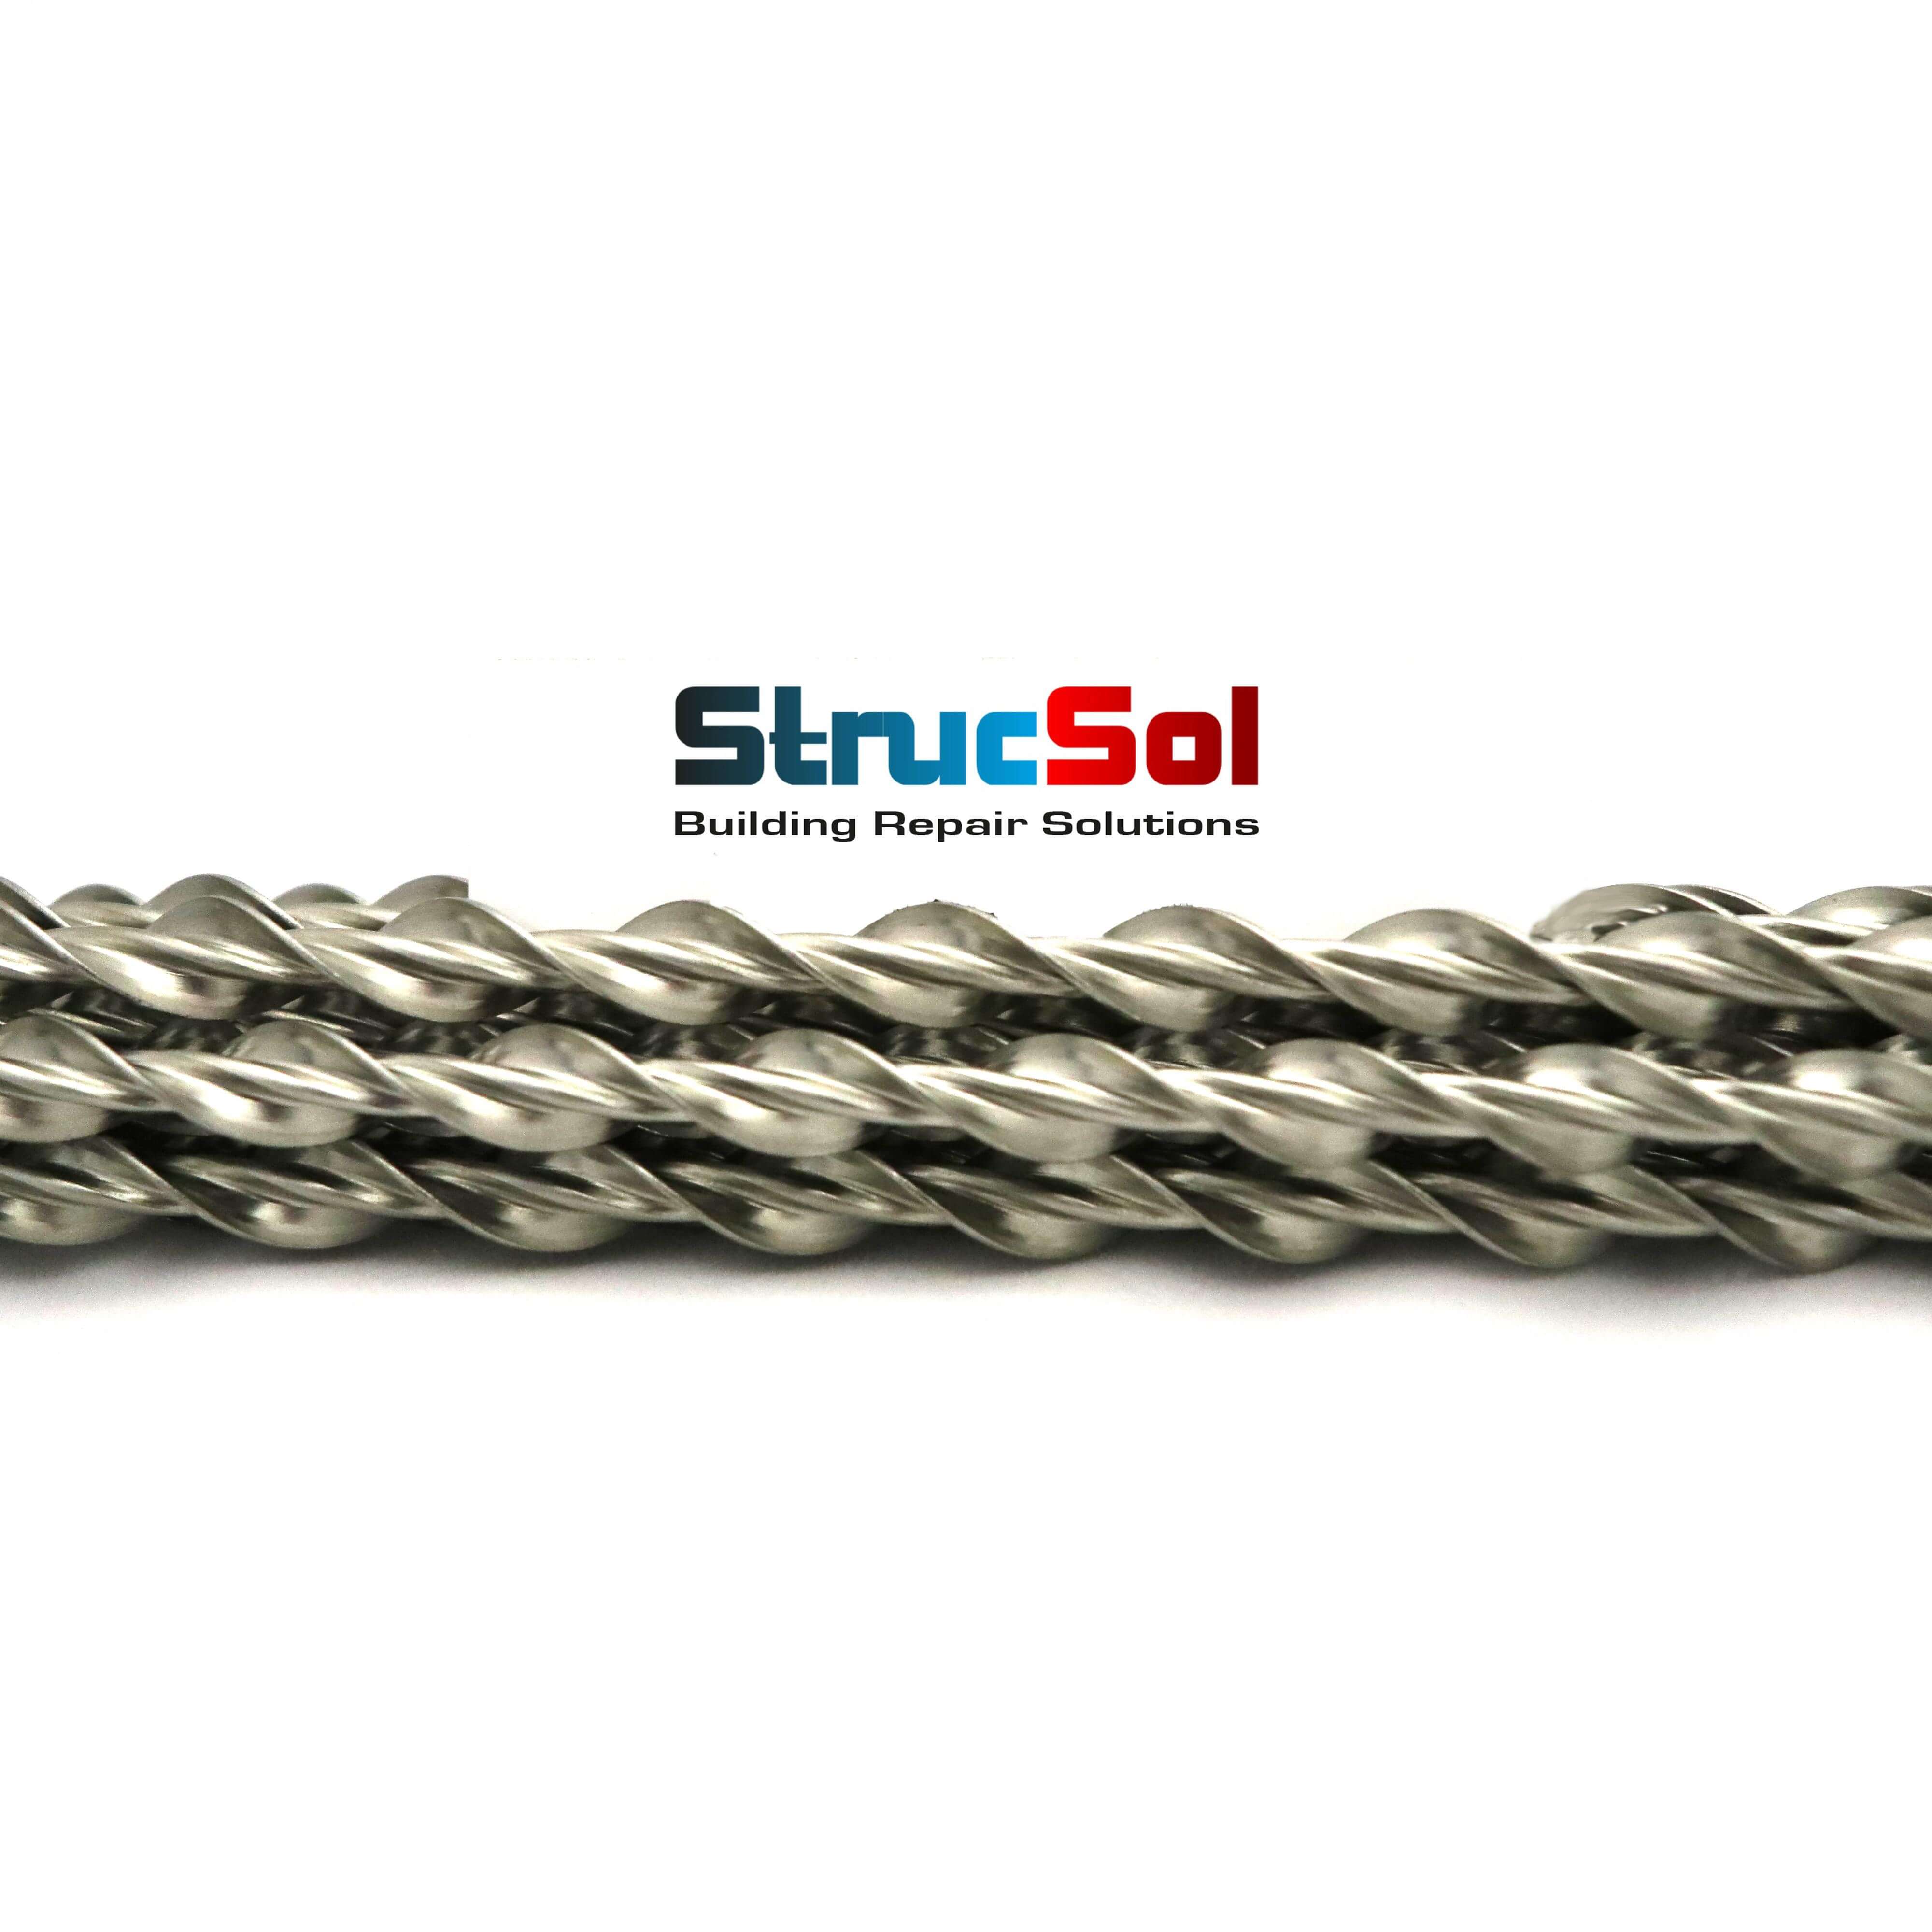
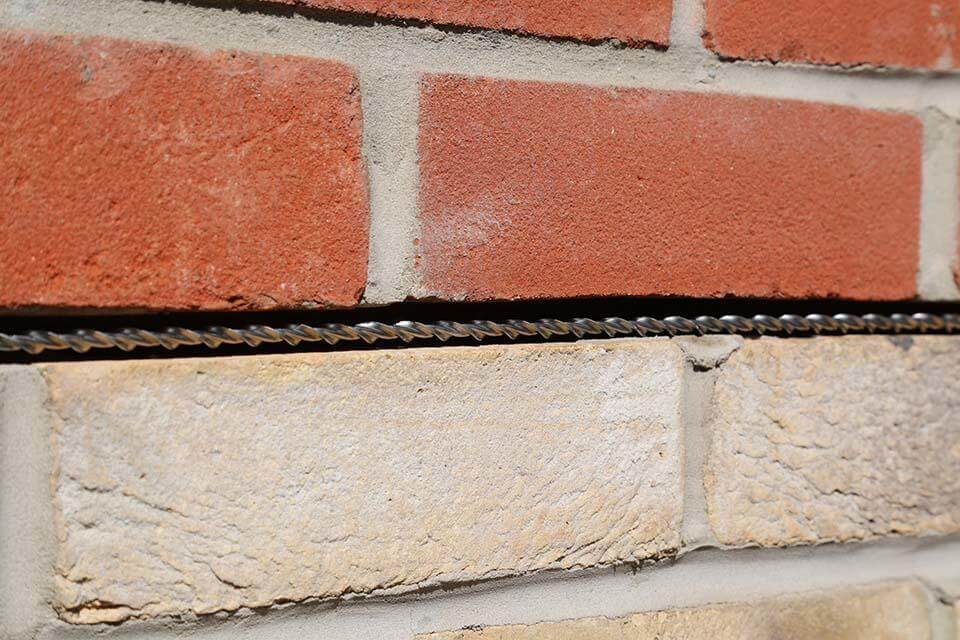
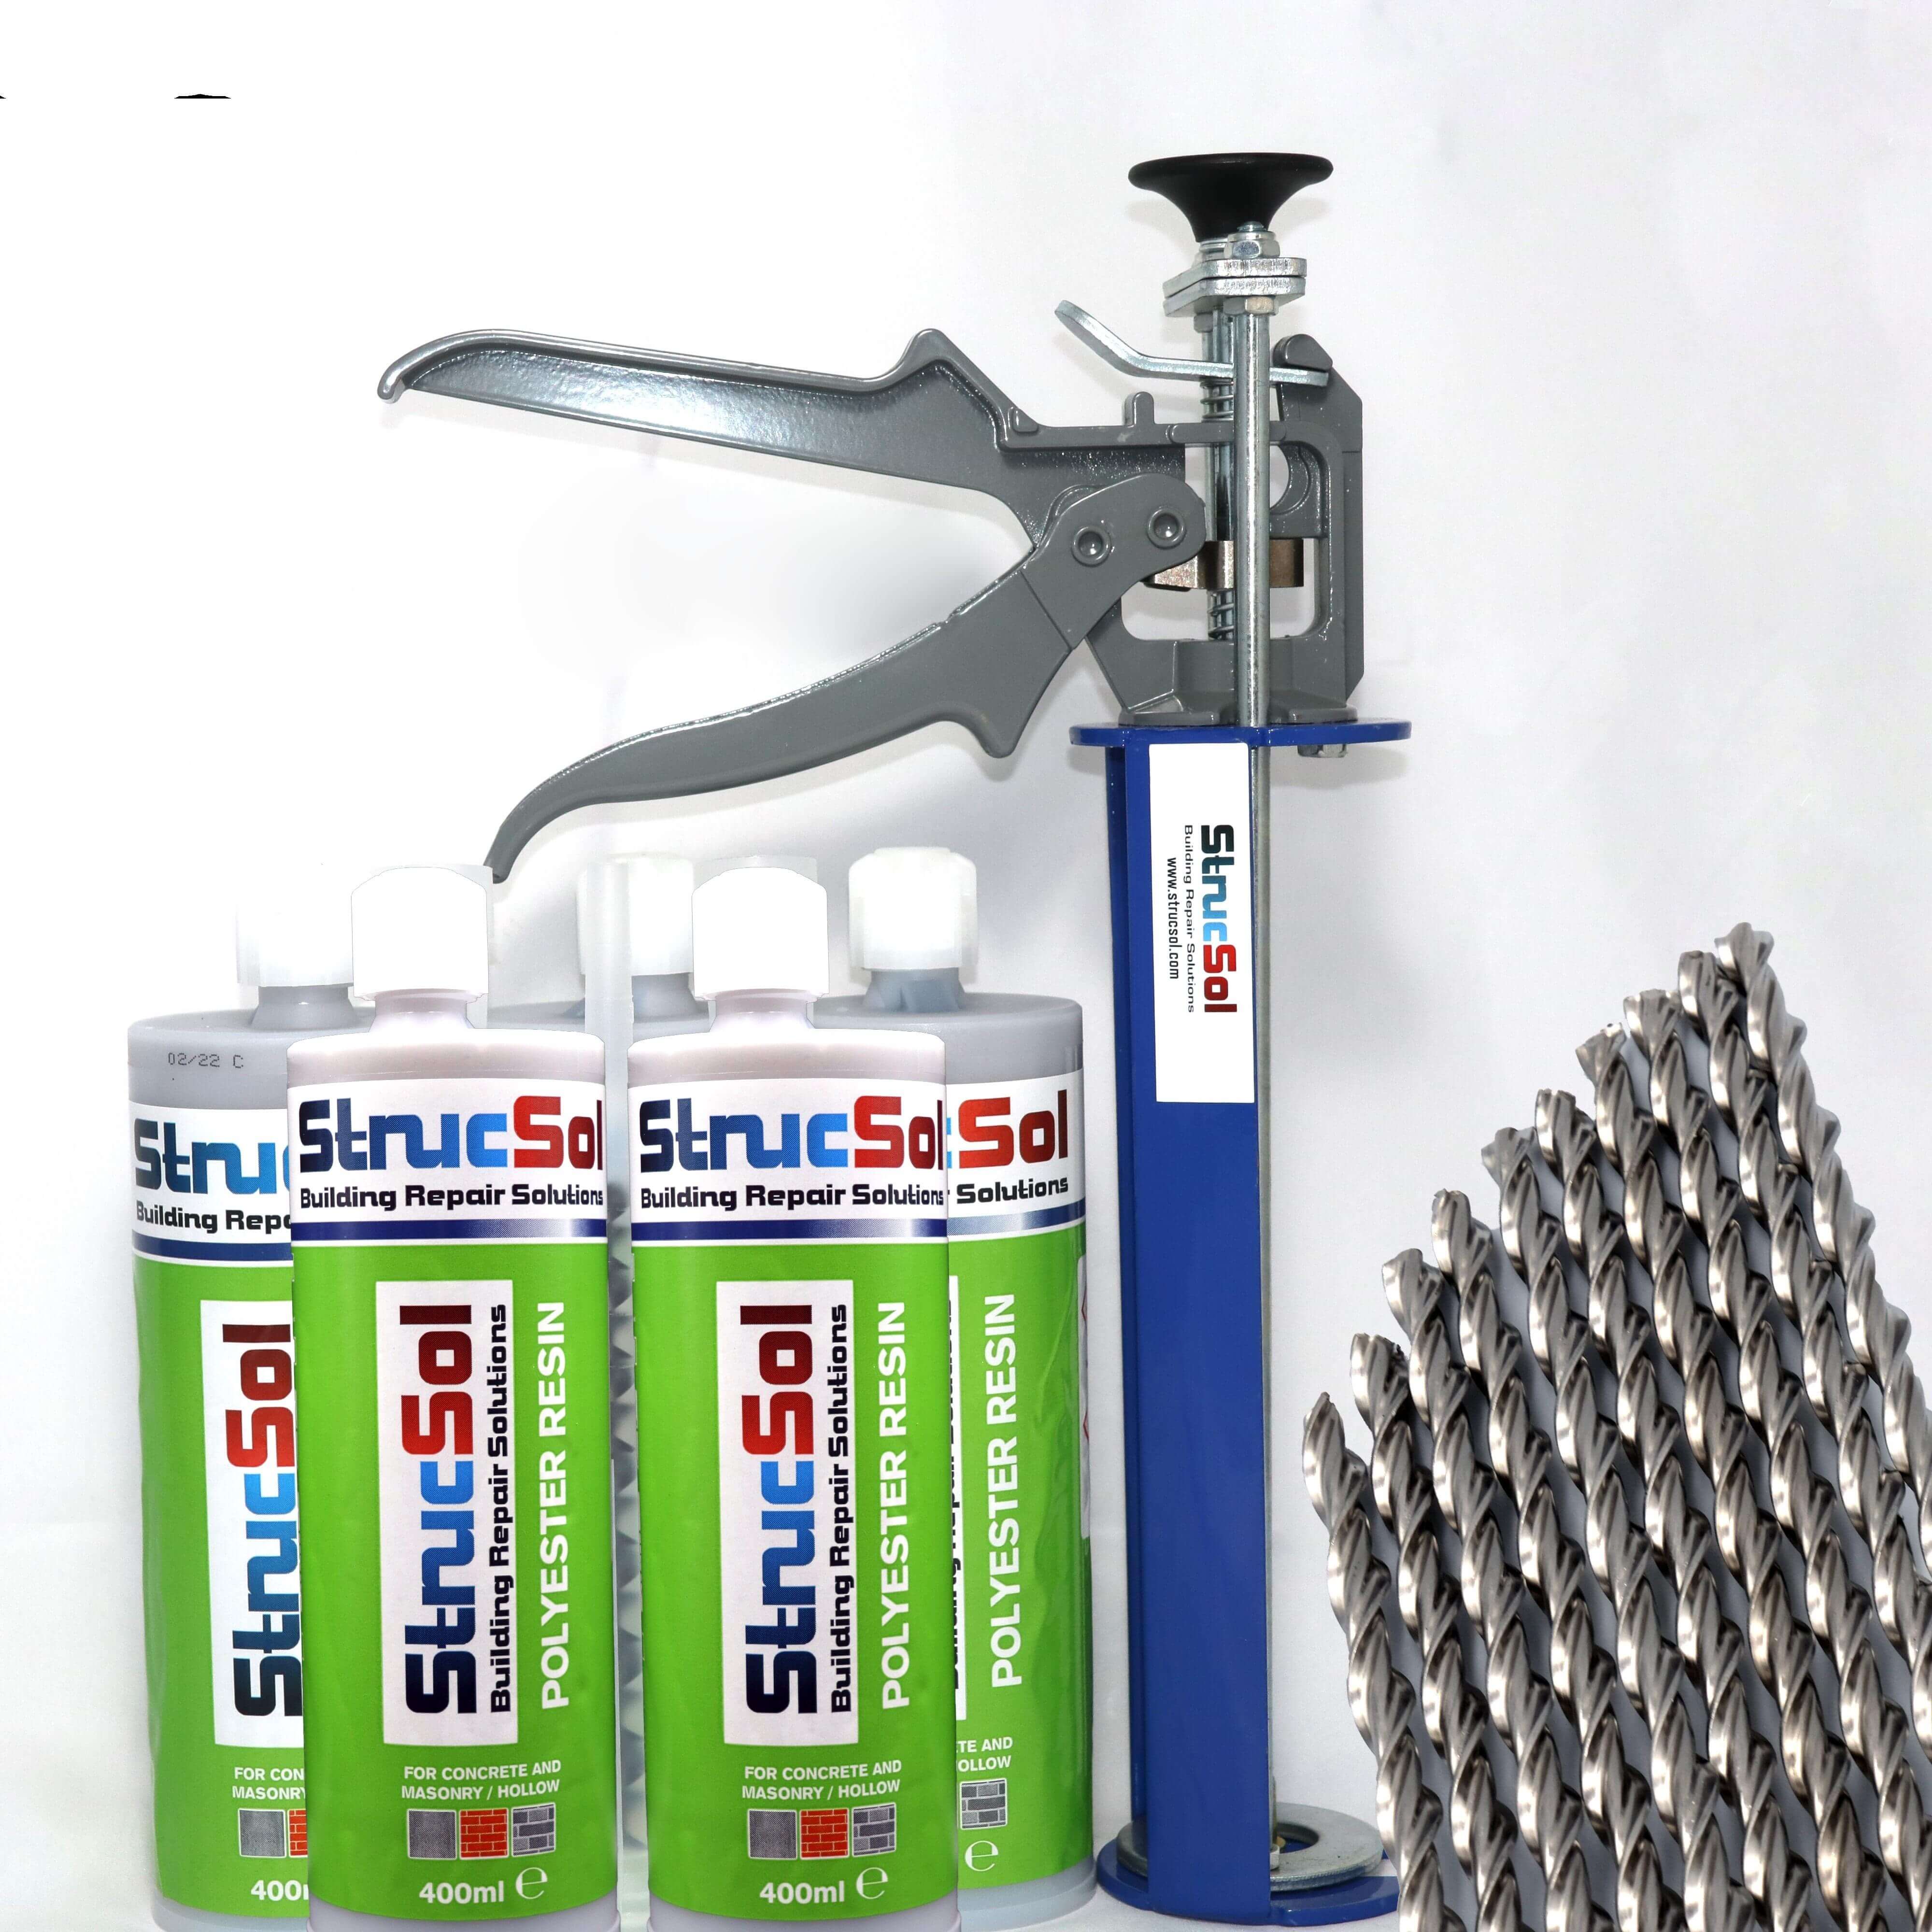
Strucsol Crack Stitch Kits (a great alternative to helifix crack stitching kit) are premium structural repair products designed for the permanent reinforcement and stabilisation of cracked masonry walls. Ideal for both residential and commercial properties, each kit includes everything required to install stainless steel helical bars into bed joints—providing a fast, effective, and discreet repair method that restores structural integrity without the need for costly rebuilding.
Perfect for DIYers and professionals alike, these kits offer exceptional tensile strength and corrosion resistance, making them suitable for interior or exterior use across a wide range of substrates including brick, block, and stone. Whether you're repairing vertical, stepped, or horizontal cracks, Strucsol Crack Stitching Kits ensure long-lasting results with minimal disruption.
Key benefits:
-
Fast, easy installation with clear instructions
-
High-grade stainless steel helical bars for durability
-
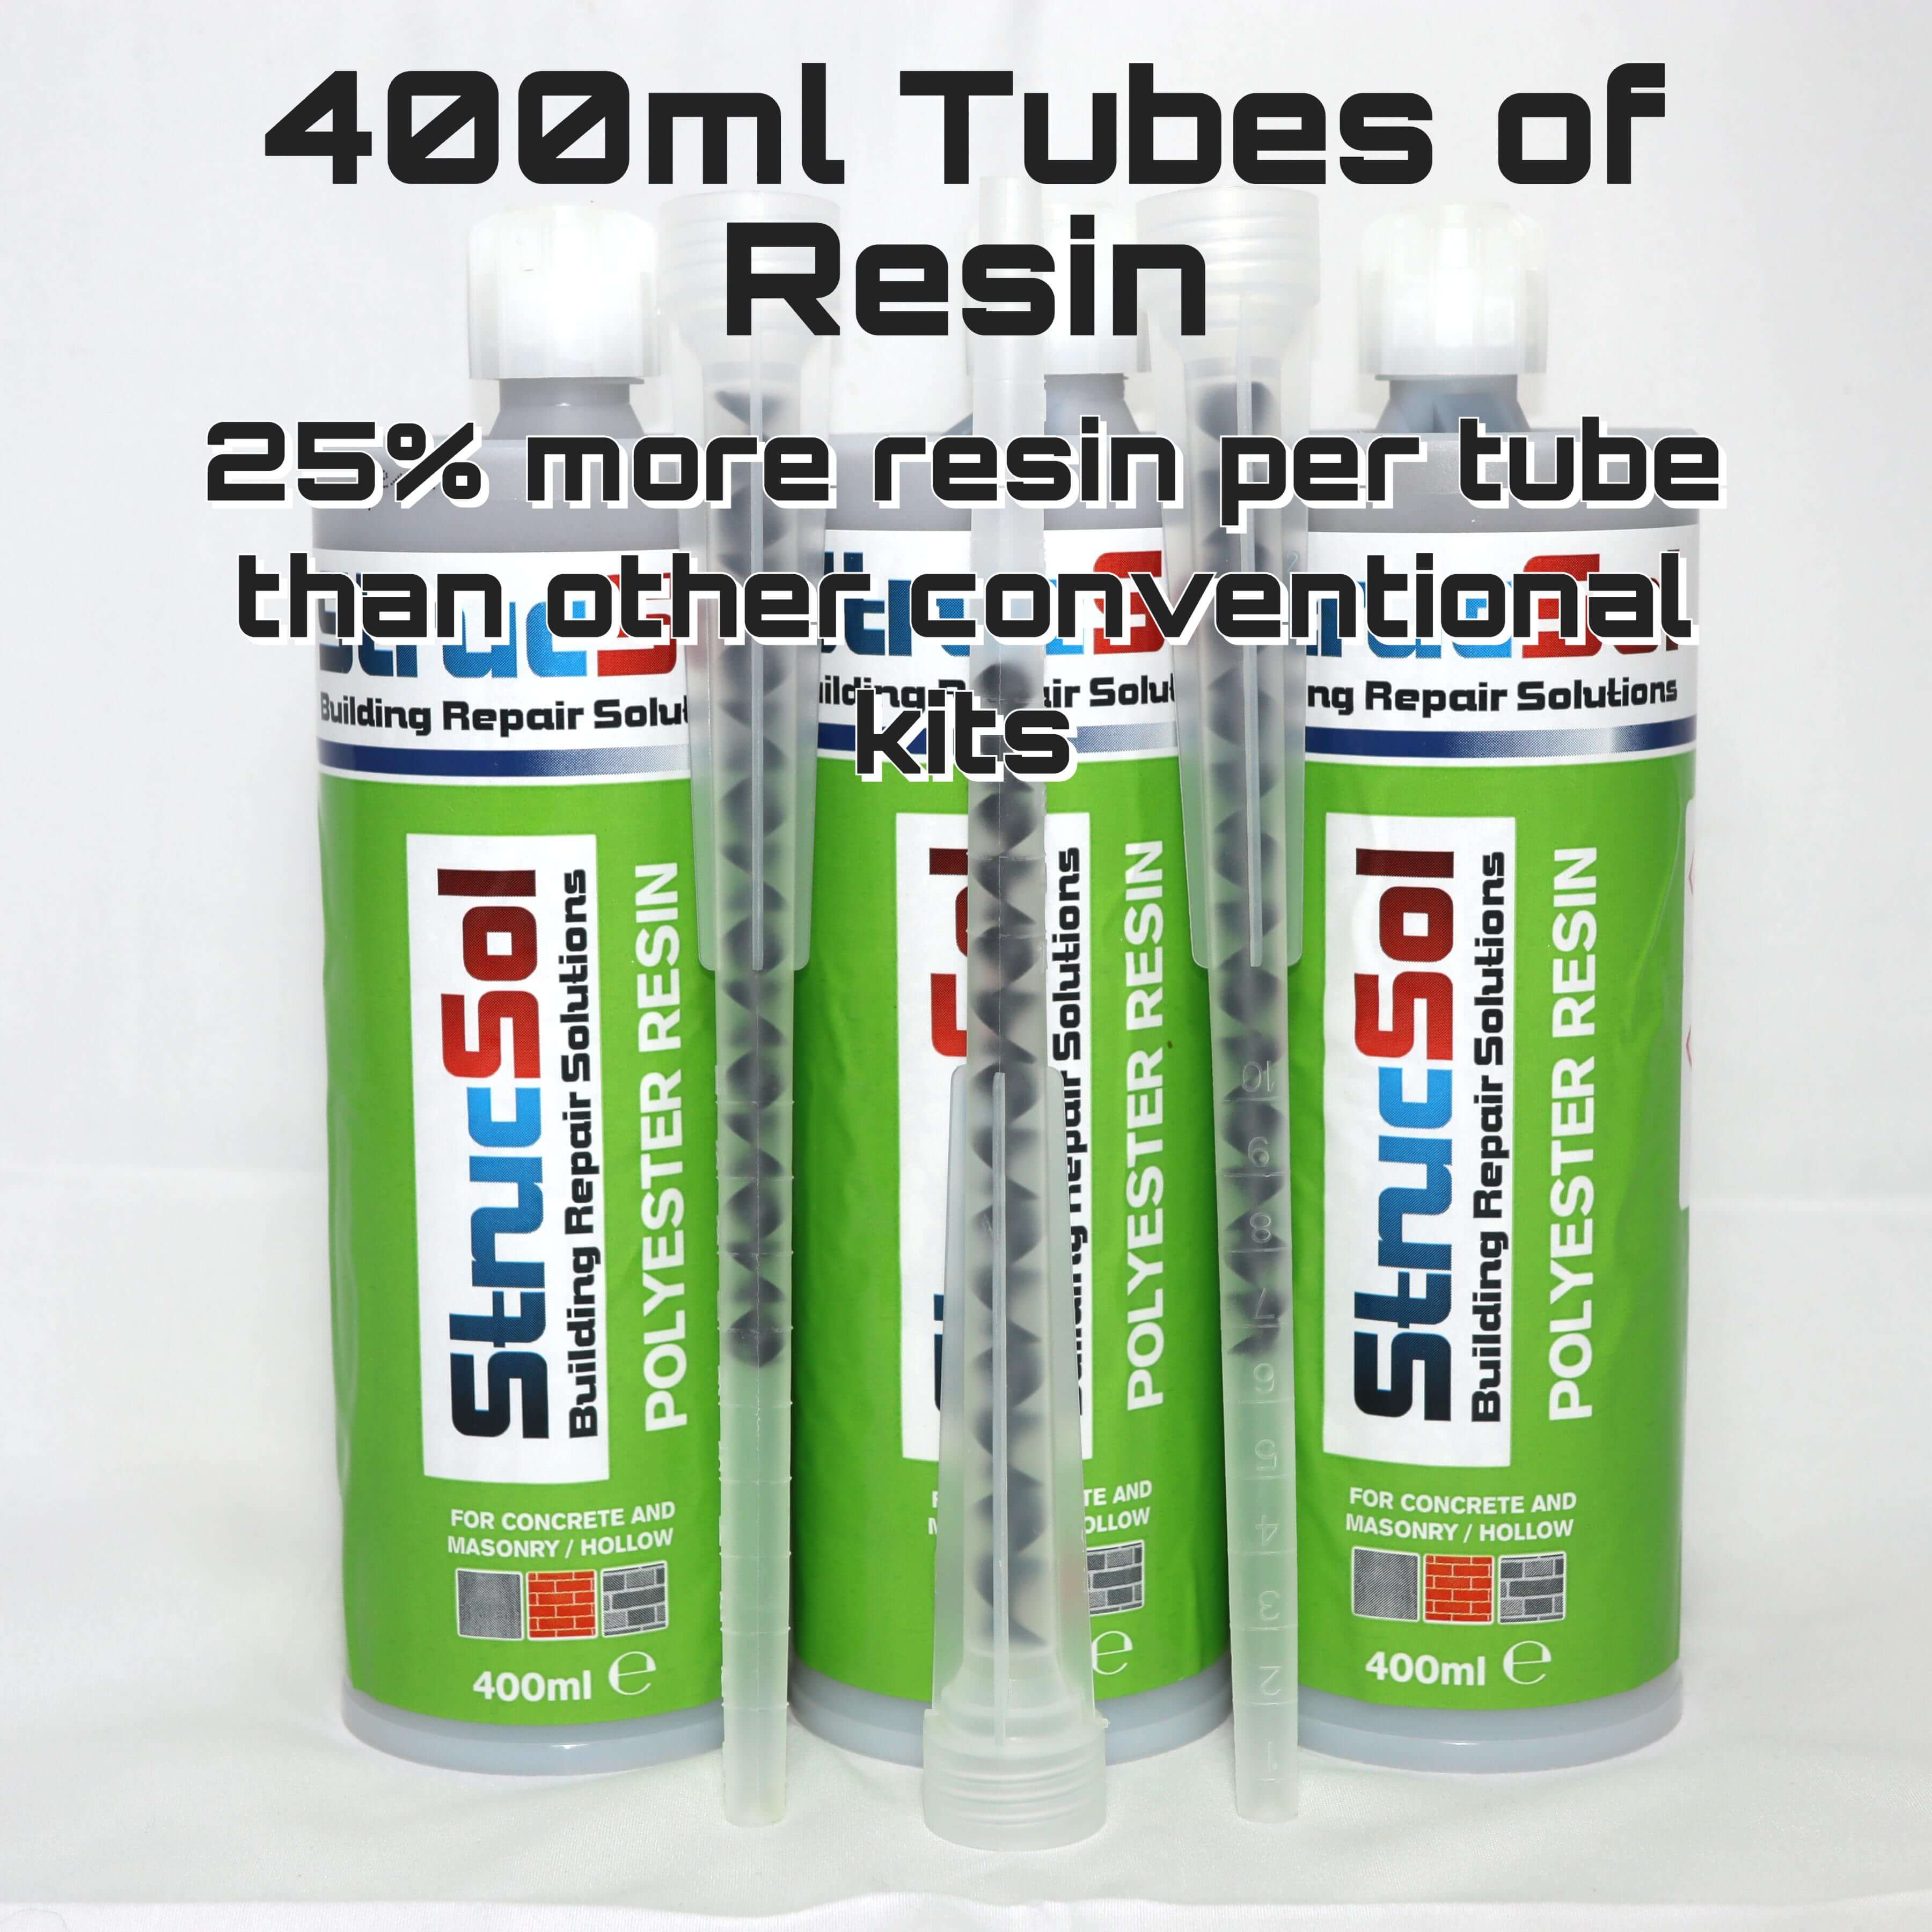
Professional-grade resin for superior bonding
-
Cost-effective solution for wall crack repairs
-
Trusted by structural engineers and contractors across the UK
Available in various sizes to suit project needs, Strucsol kits are your go-to solution for reliable, professional crack repairs.
Crack Stitch Repair Guide
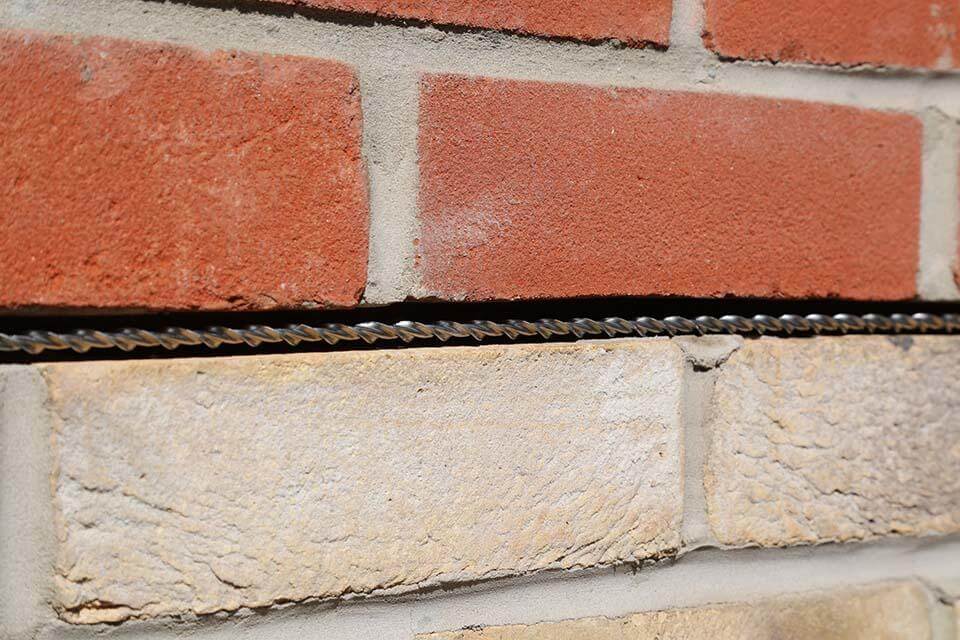
Crack stitching is a process designed to restore the original integrity to the masonry in addition to locally reinforcing the brickwork. Addressing cracks promptly can prevent further damage to your walls and maintain the structural integrity of your property.
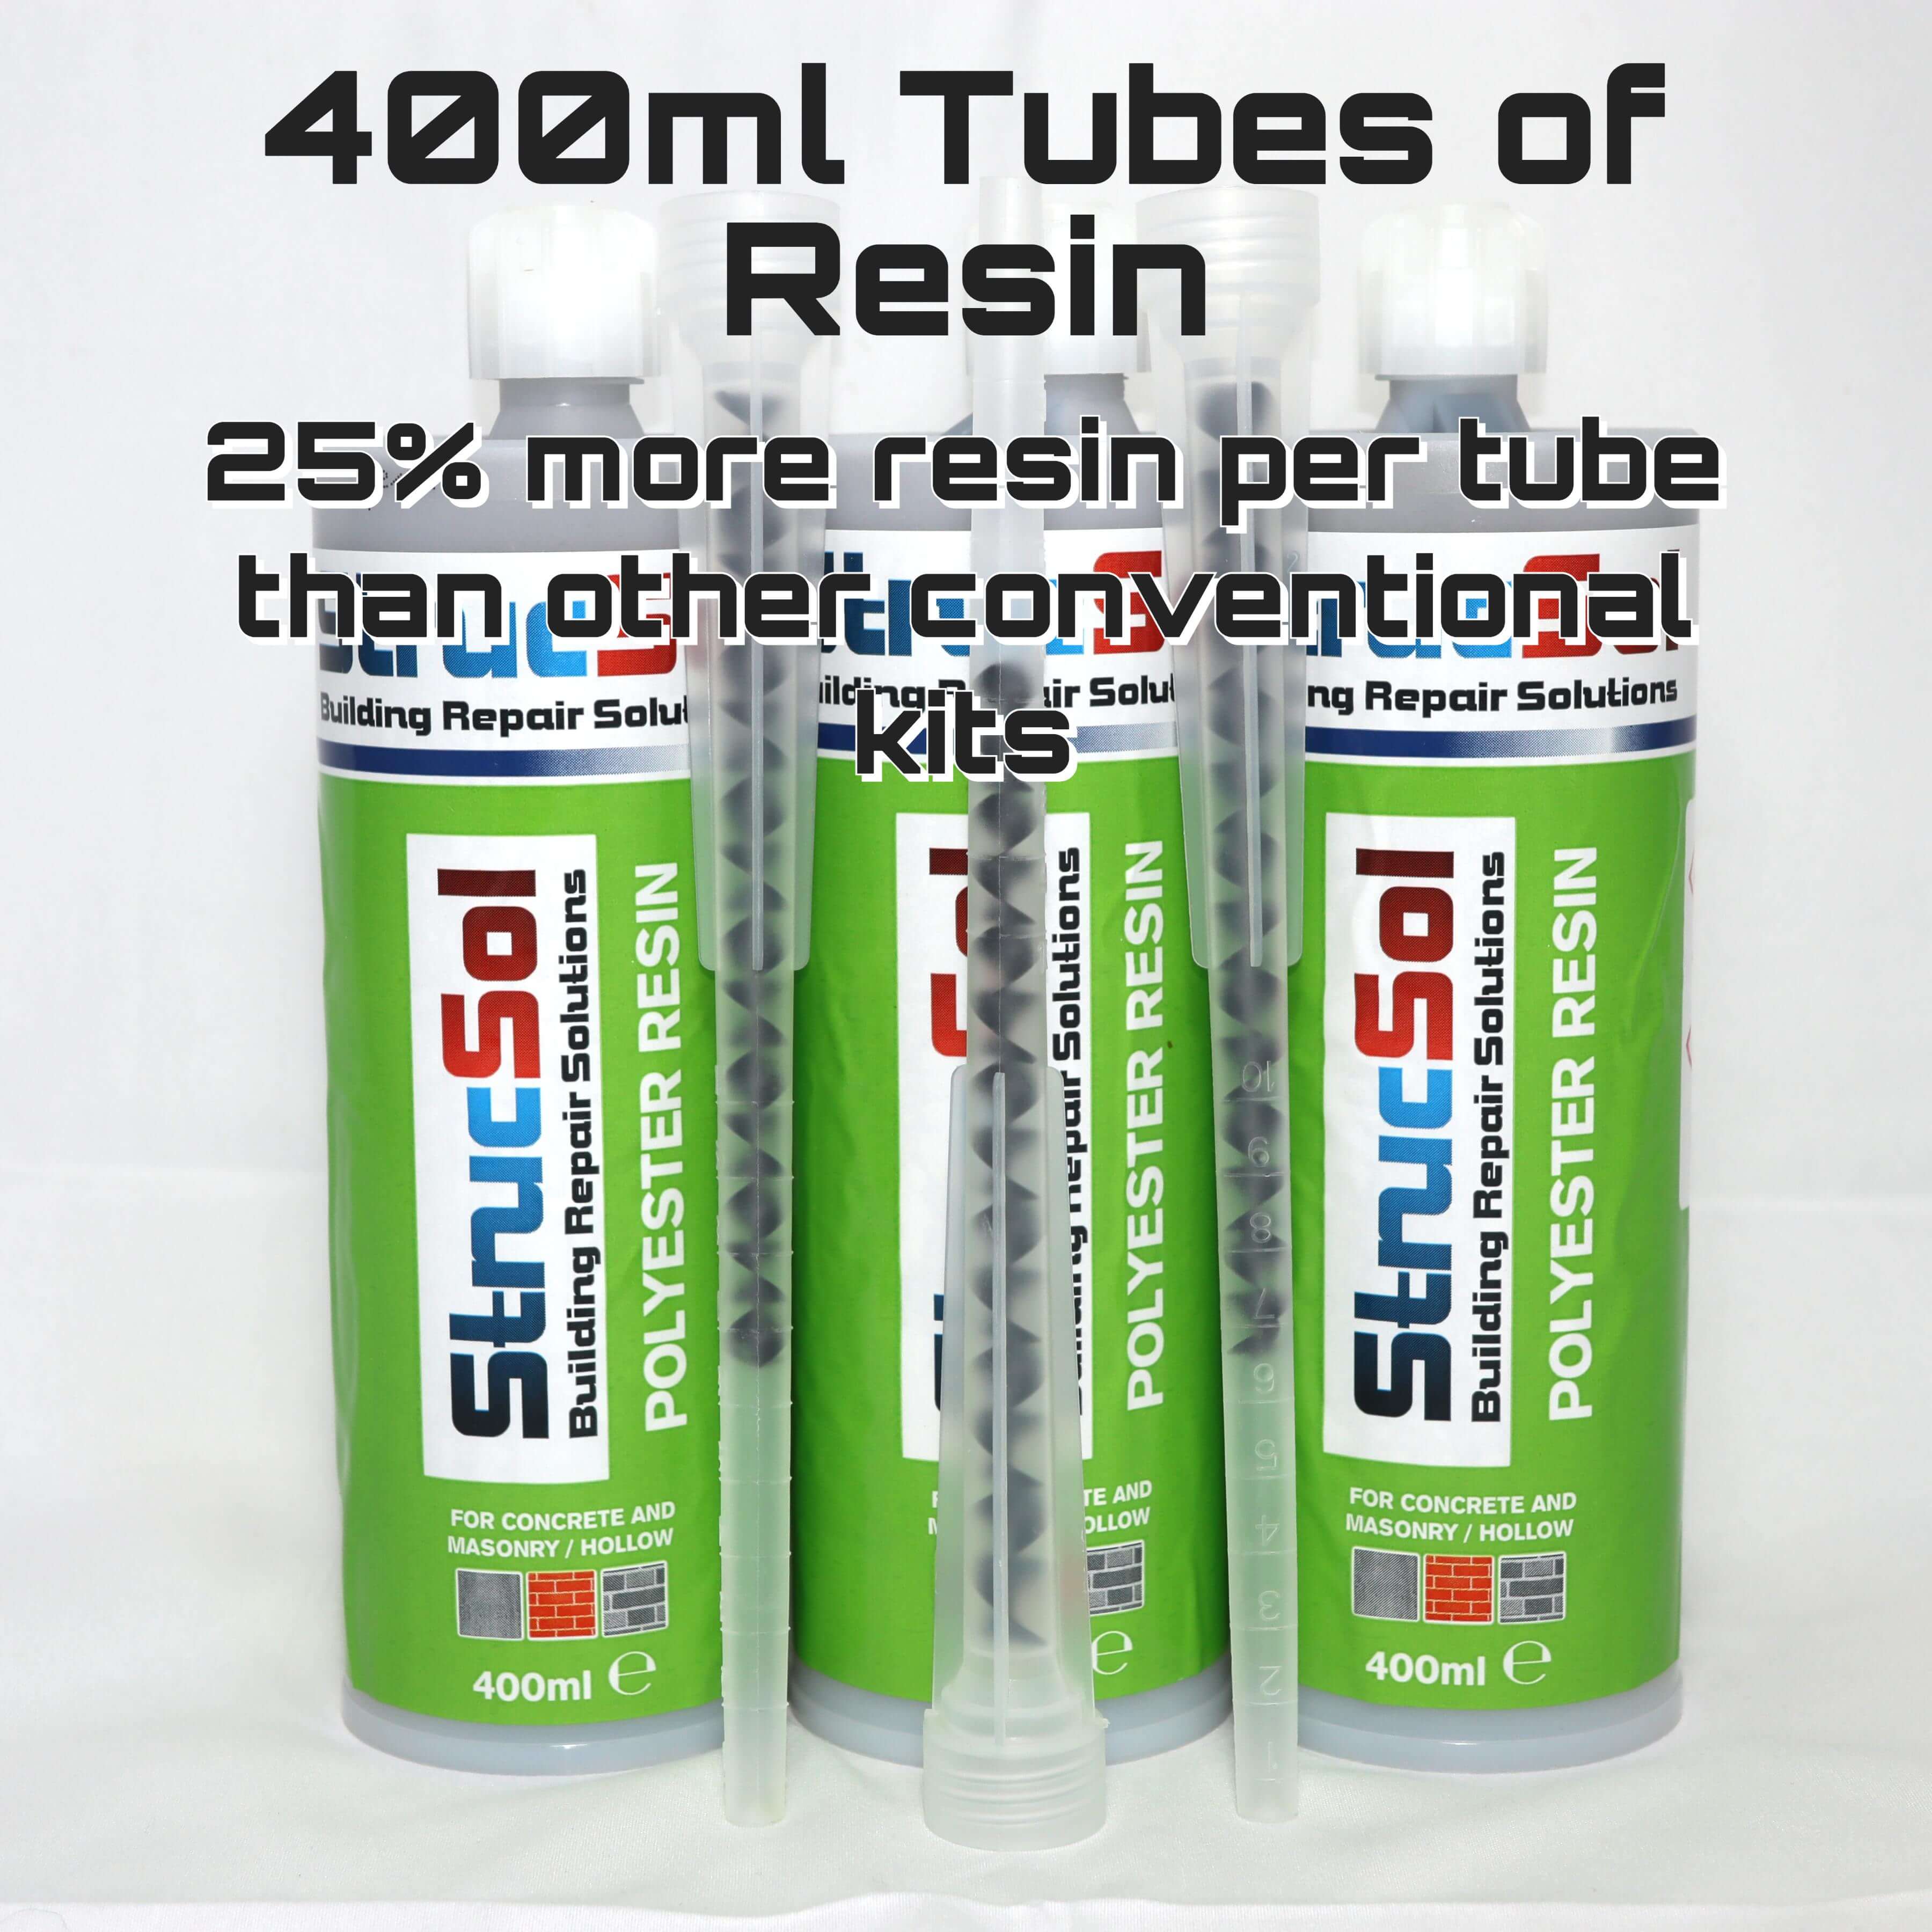
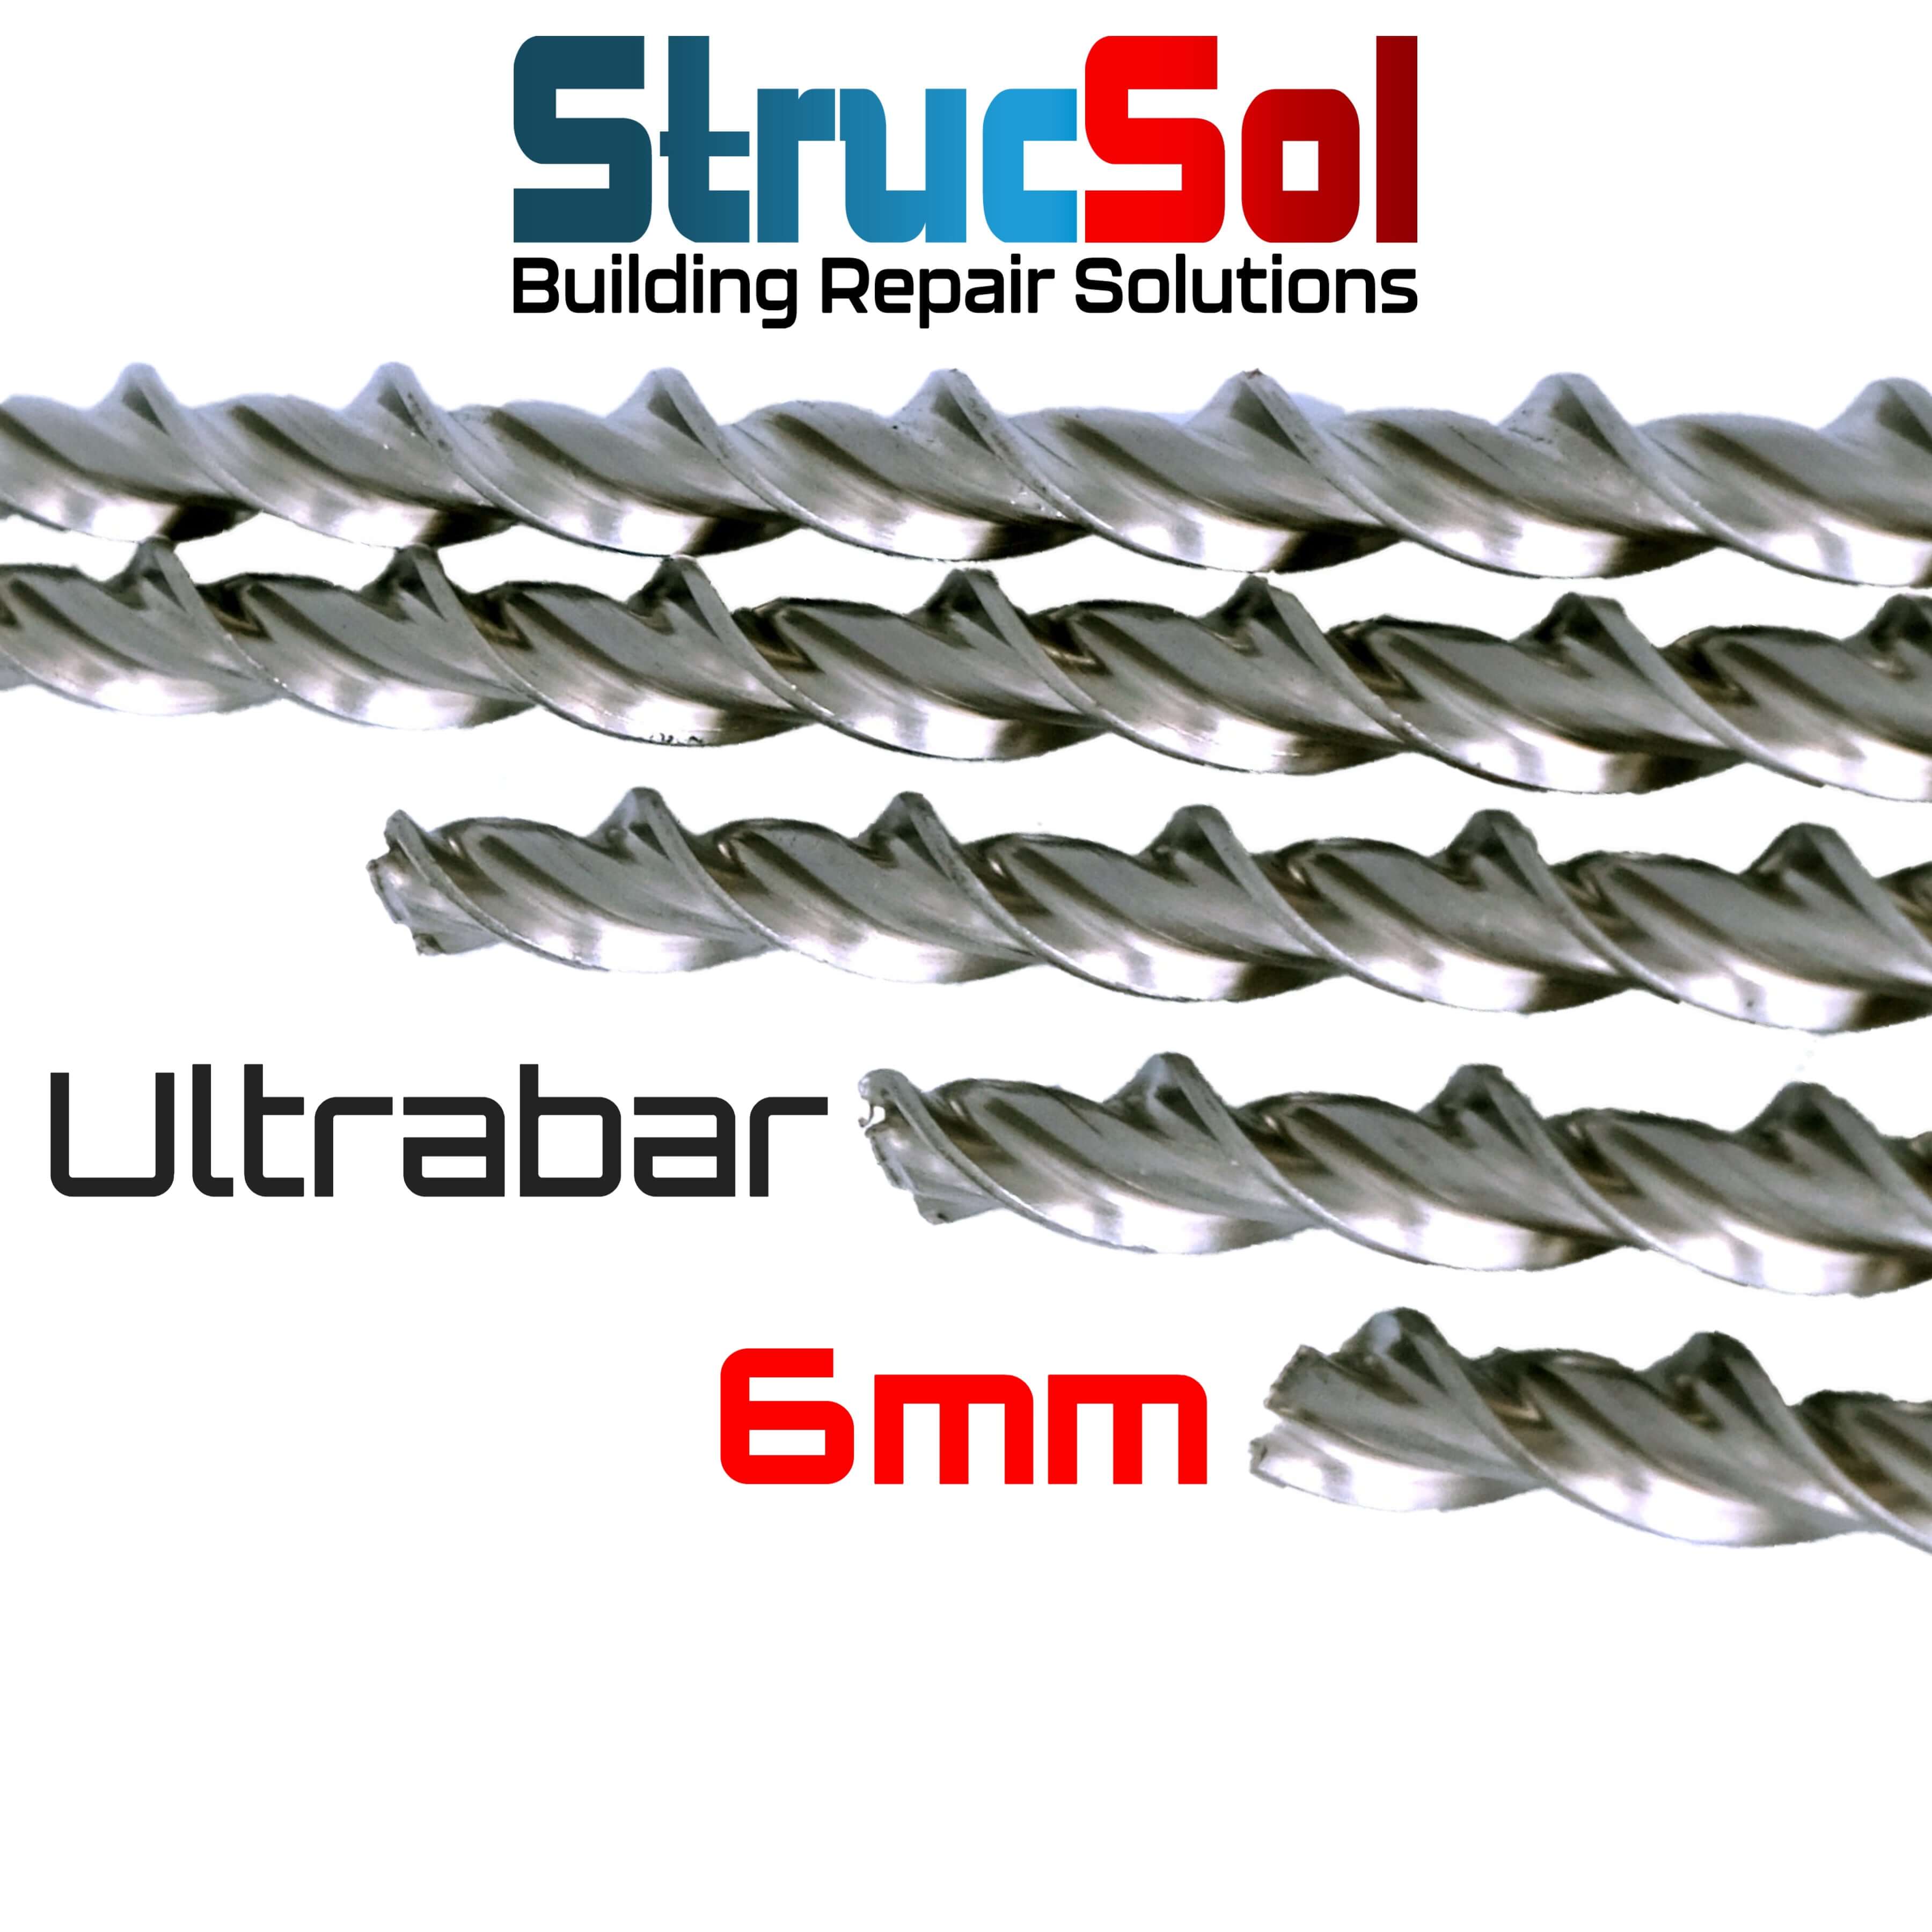
Crack stitching is carried out using Strucsol Ultrabar 6mm x 1000mm OR Strusol Ultrabar Composite 6mm x 1000mm, and either Strucsol HS Grout or Strucsol Polyester Resin
Strucsol HS Grout is a non shrink, high strength grout. It sets around the crack stitching bars and develops compressive strength rapidly to prevent axial deflection of the crack stitching bar under load conditions.
Here are the steps for crack stitching installation:
- Cutting the Slot:
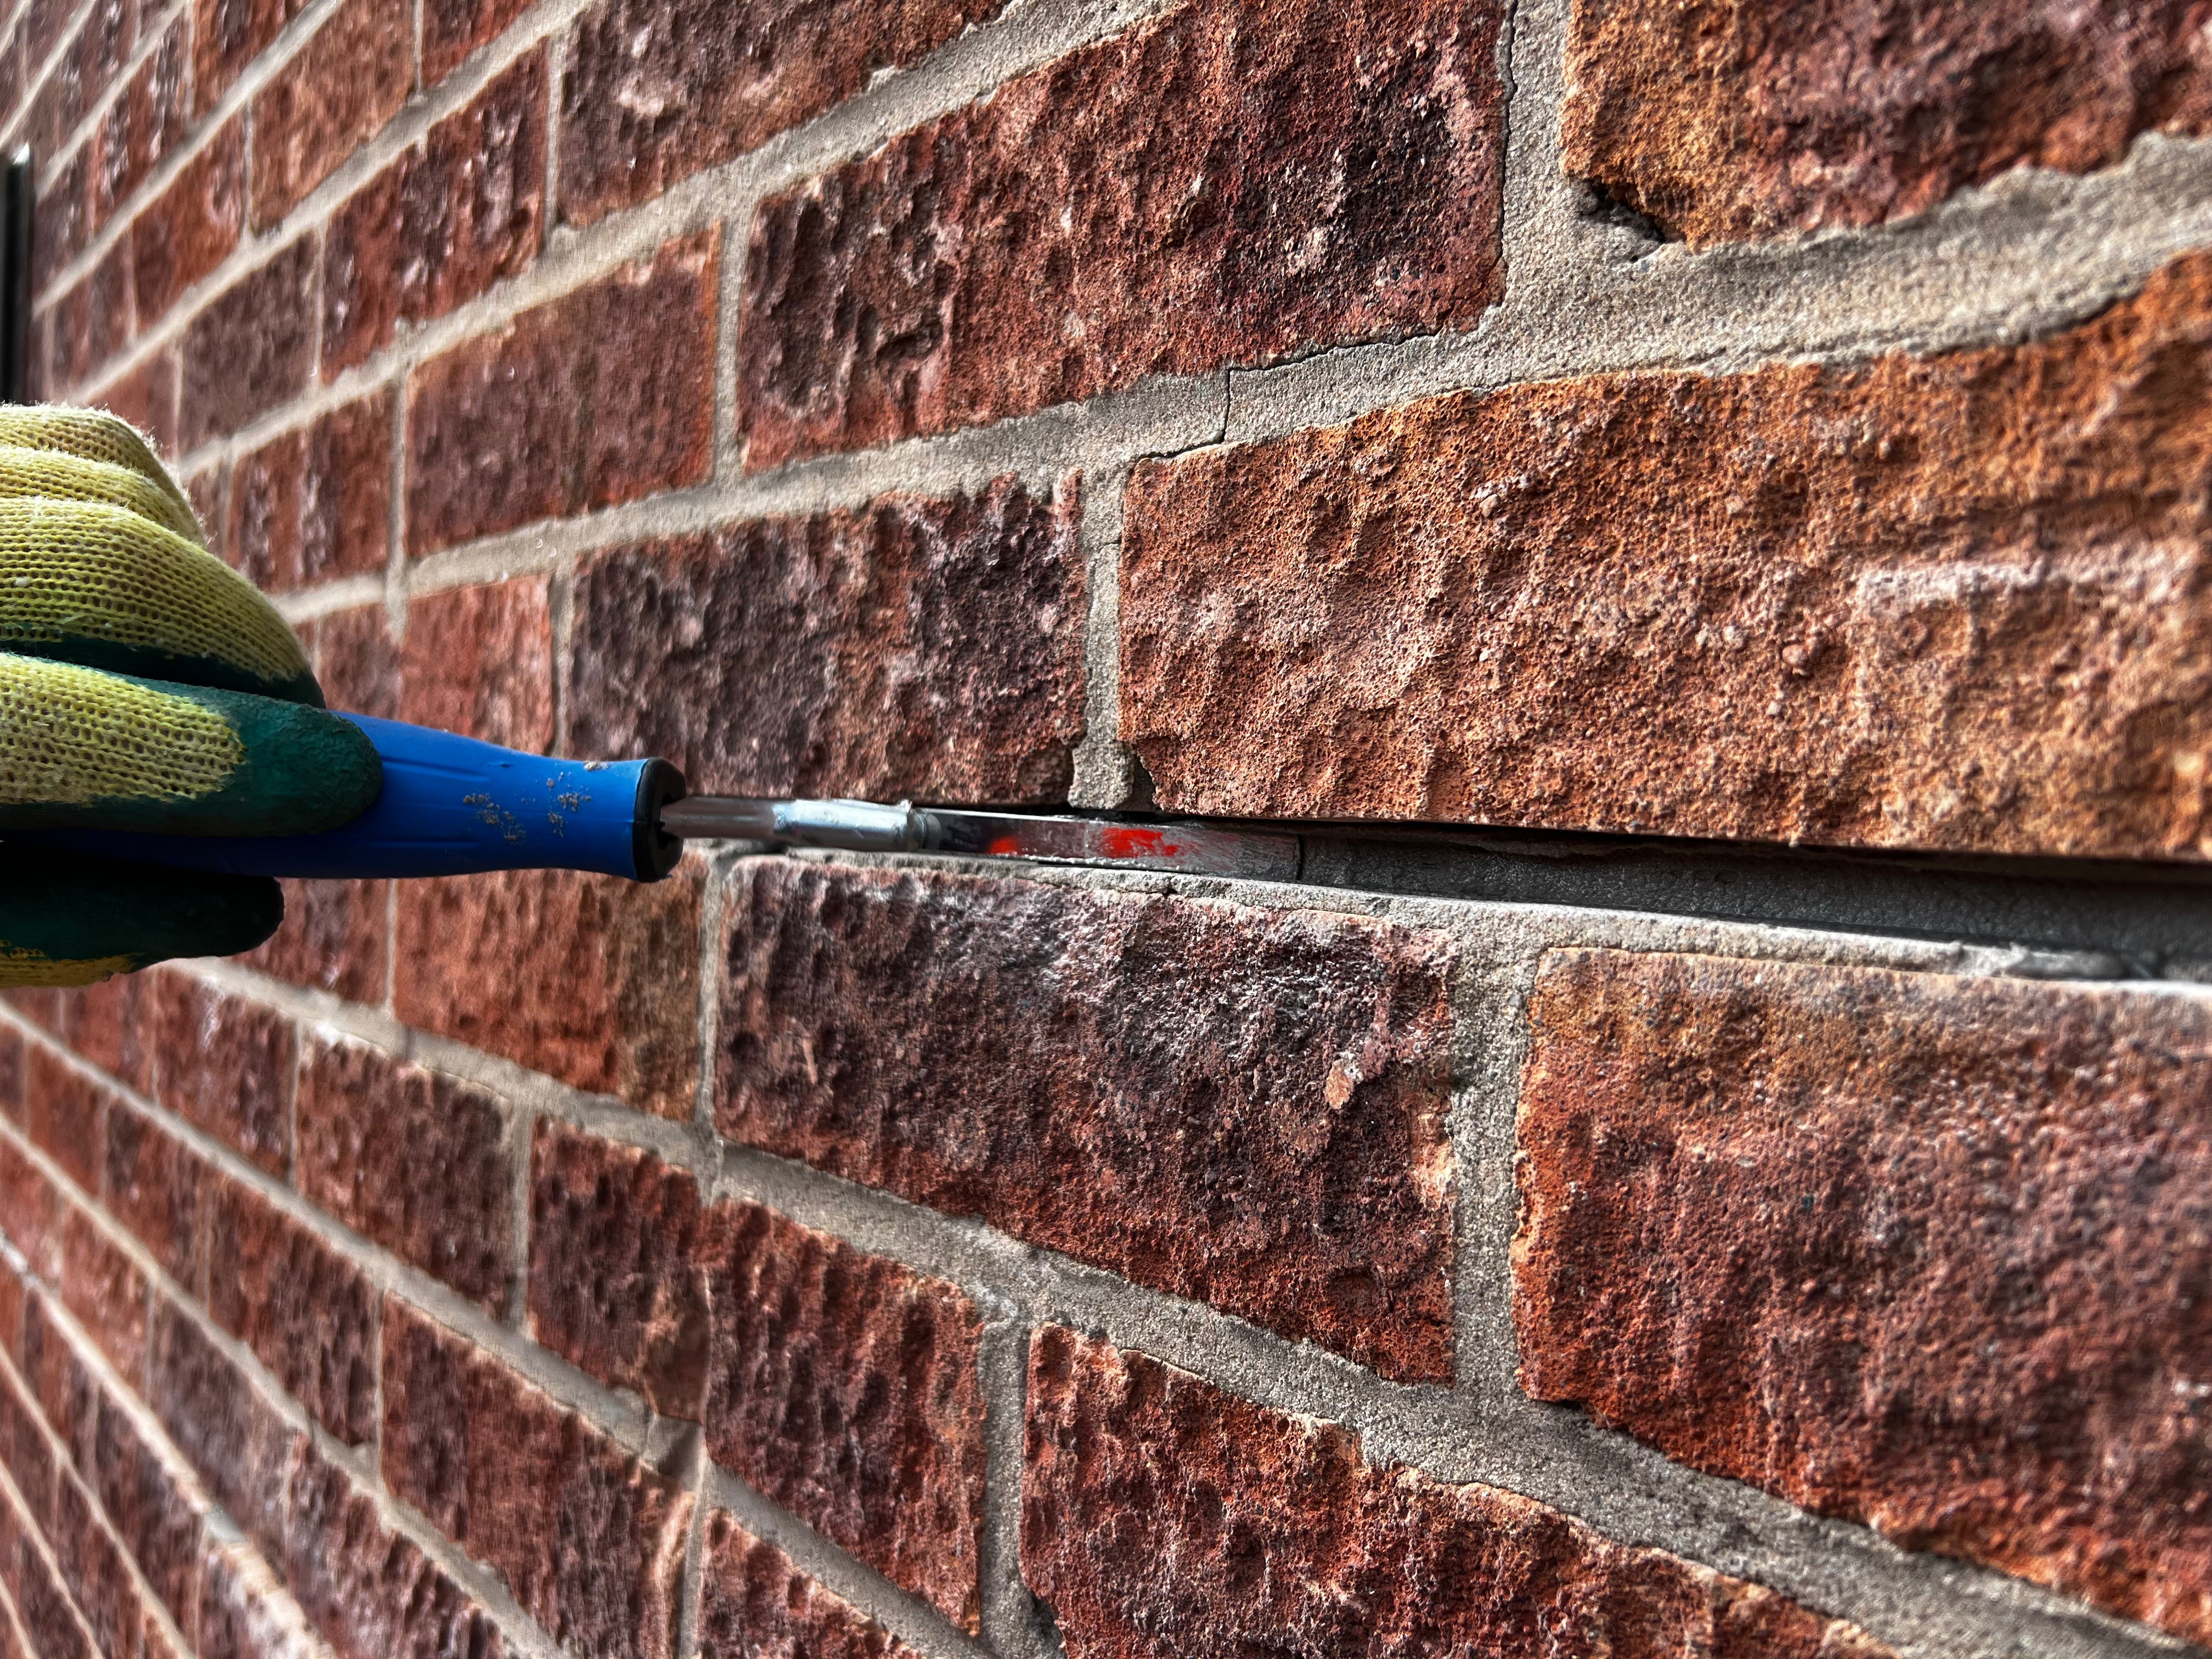
- Begin by cutting a slot in the mortar bed, positioned just over 500mm on either side of the vertical crack. The slot depth should be appropriate for the wall thickness (refer to specifications).
- Ensure that all mortar is completely removed to expose the top and bottom faces of the masonry
- Flush the joint with water to clean it thoroughly.
- Typically, vertical spacing between slots should be every 4 to 6 brick courses. If you’re uncertain, consult a structural engineer.
- Grout Mixing and Loading:
- Thoroughly mix the grout using the provided paddle mixer.
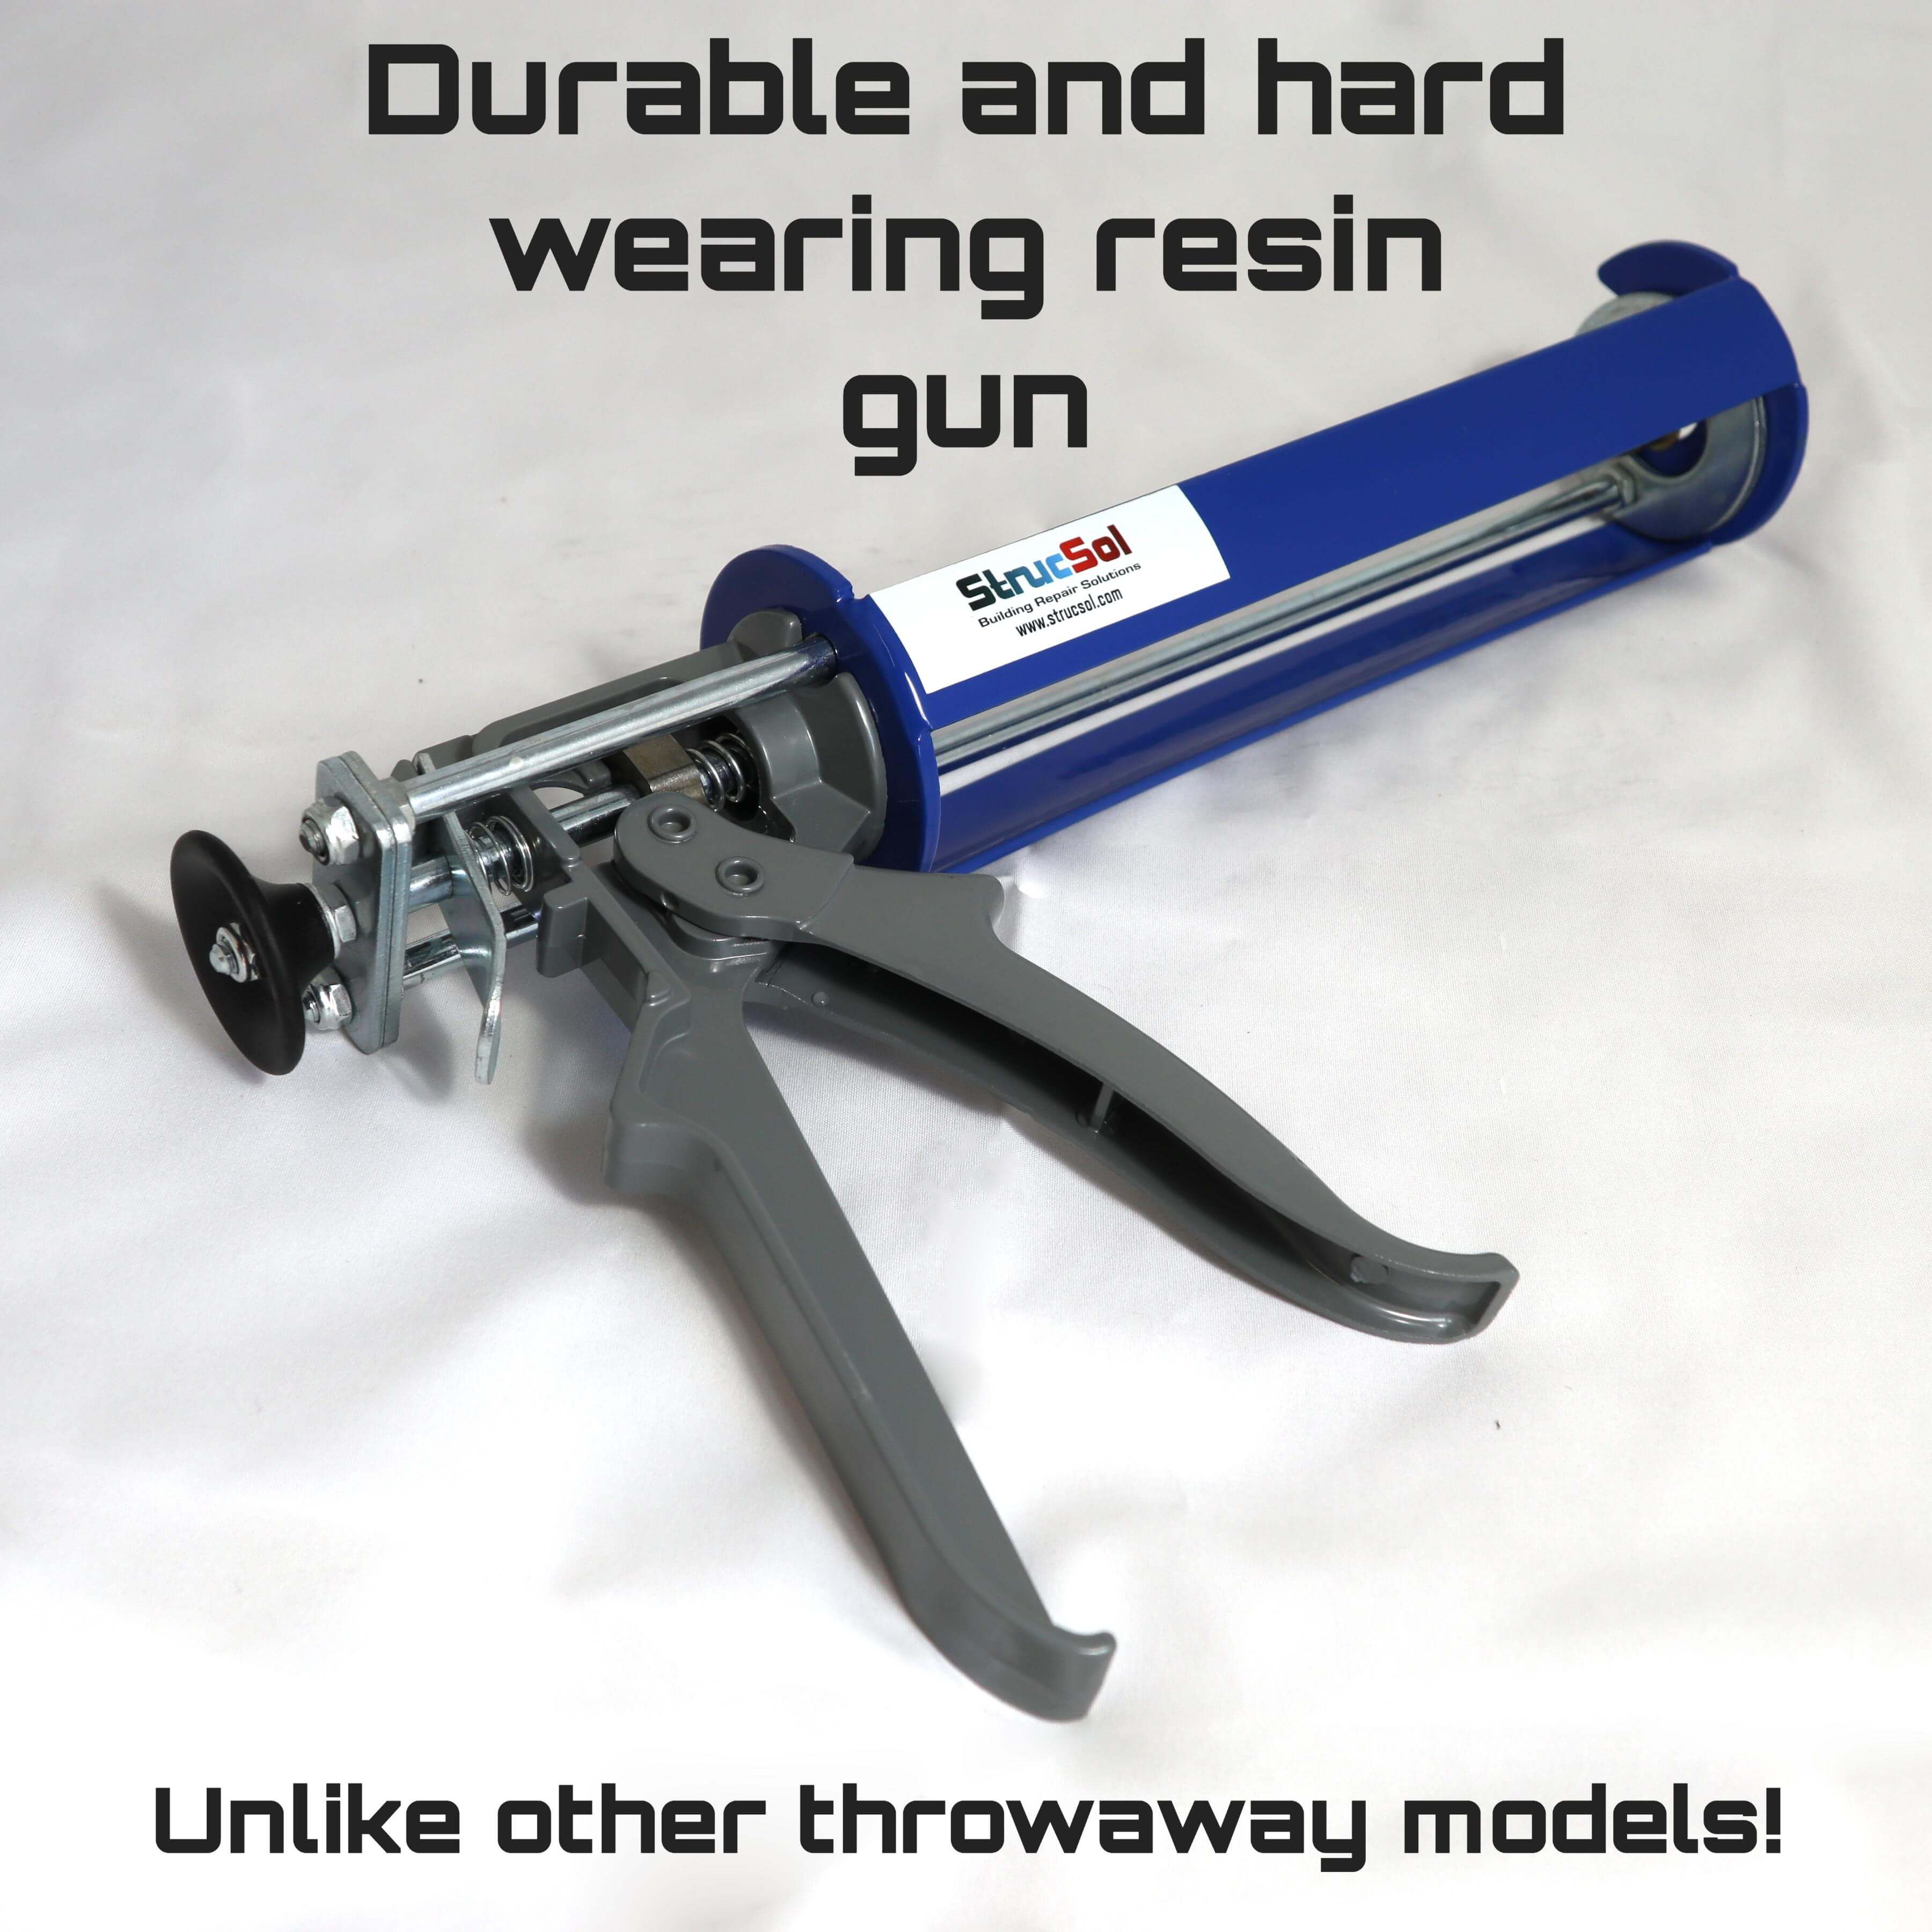
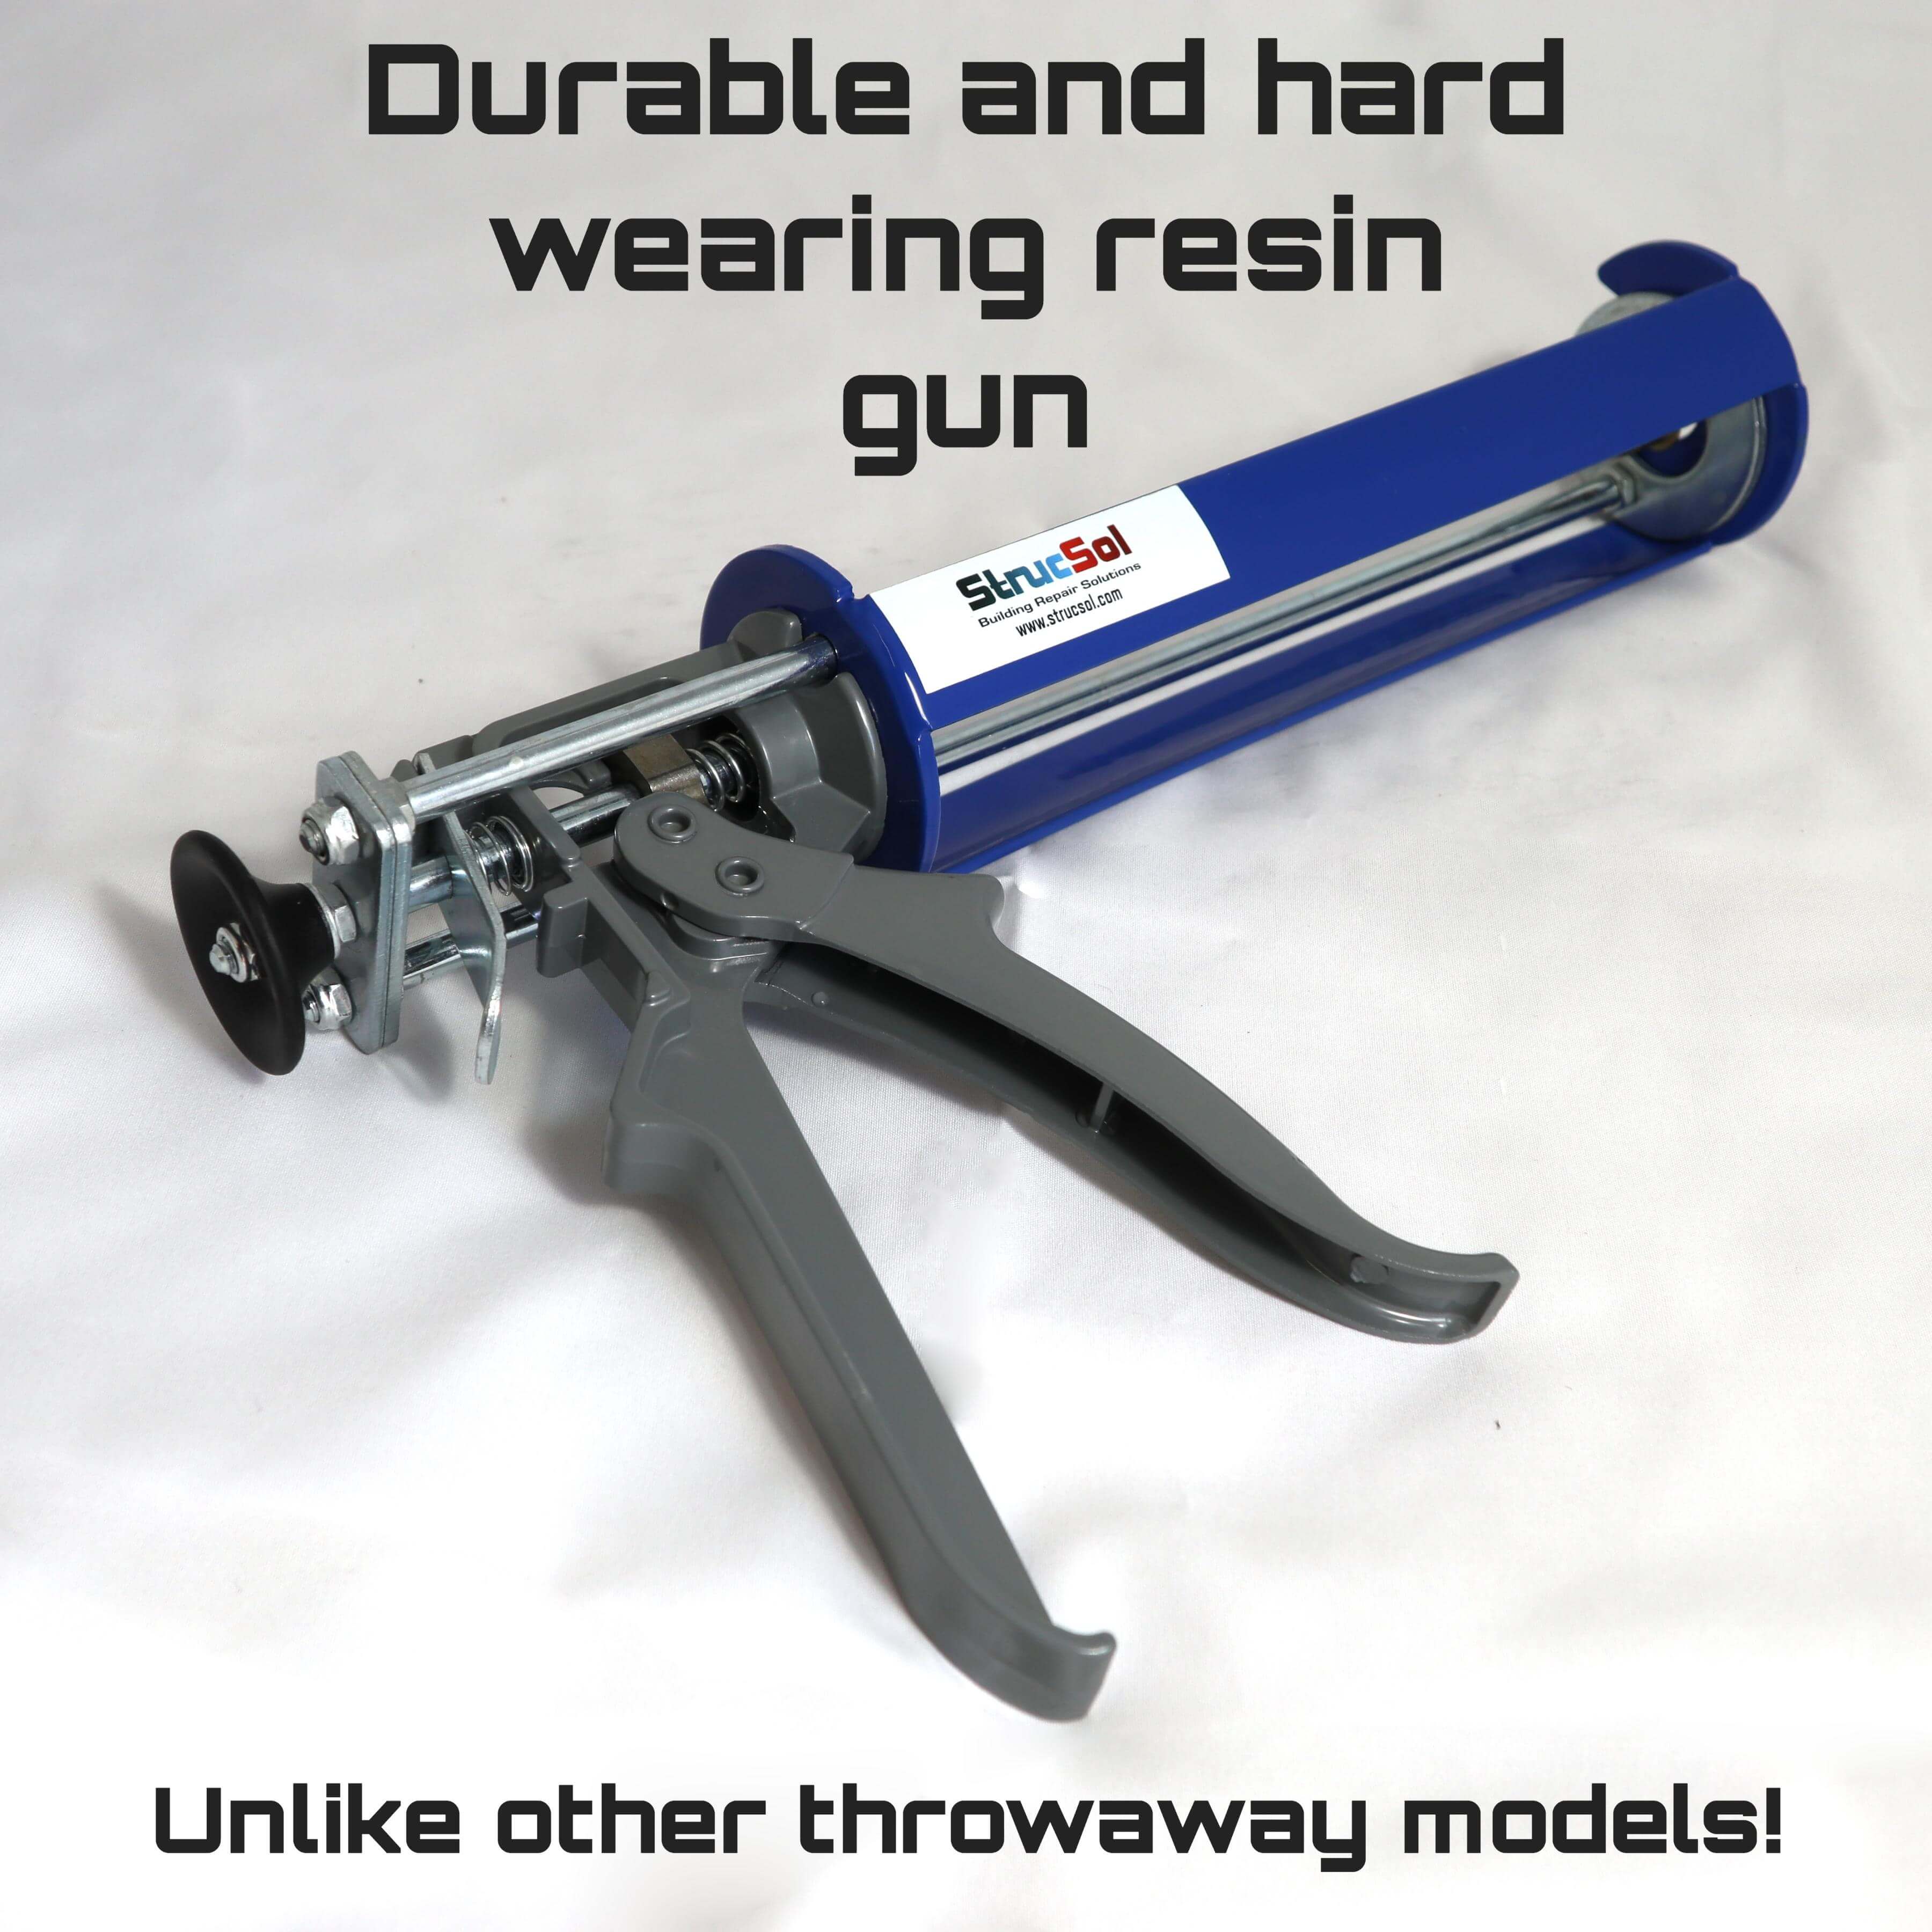
- Load the mixed grout into the application gun.
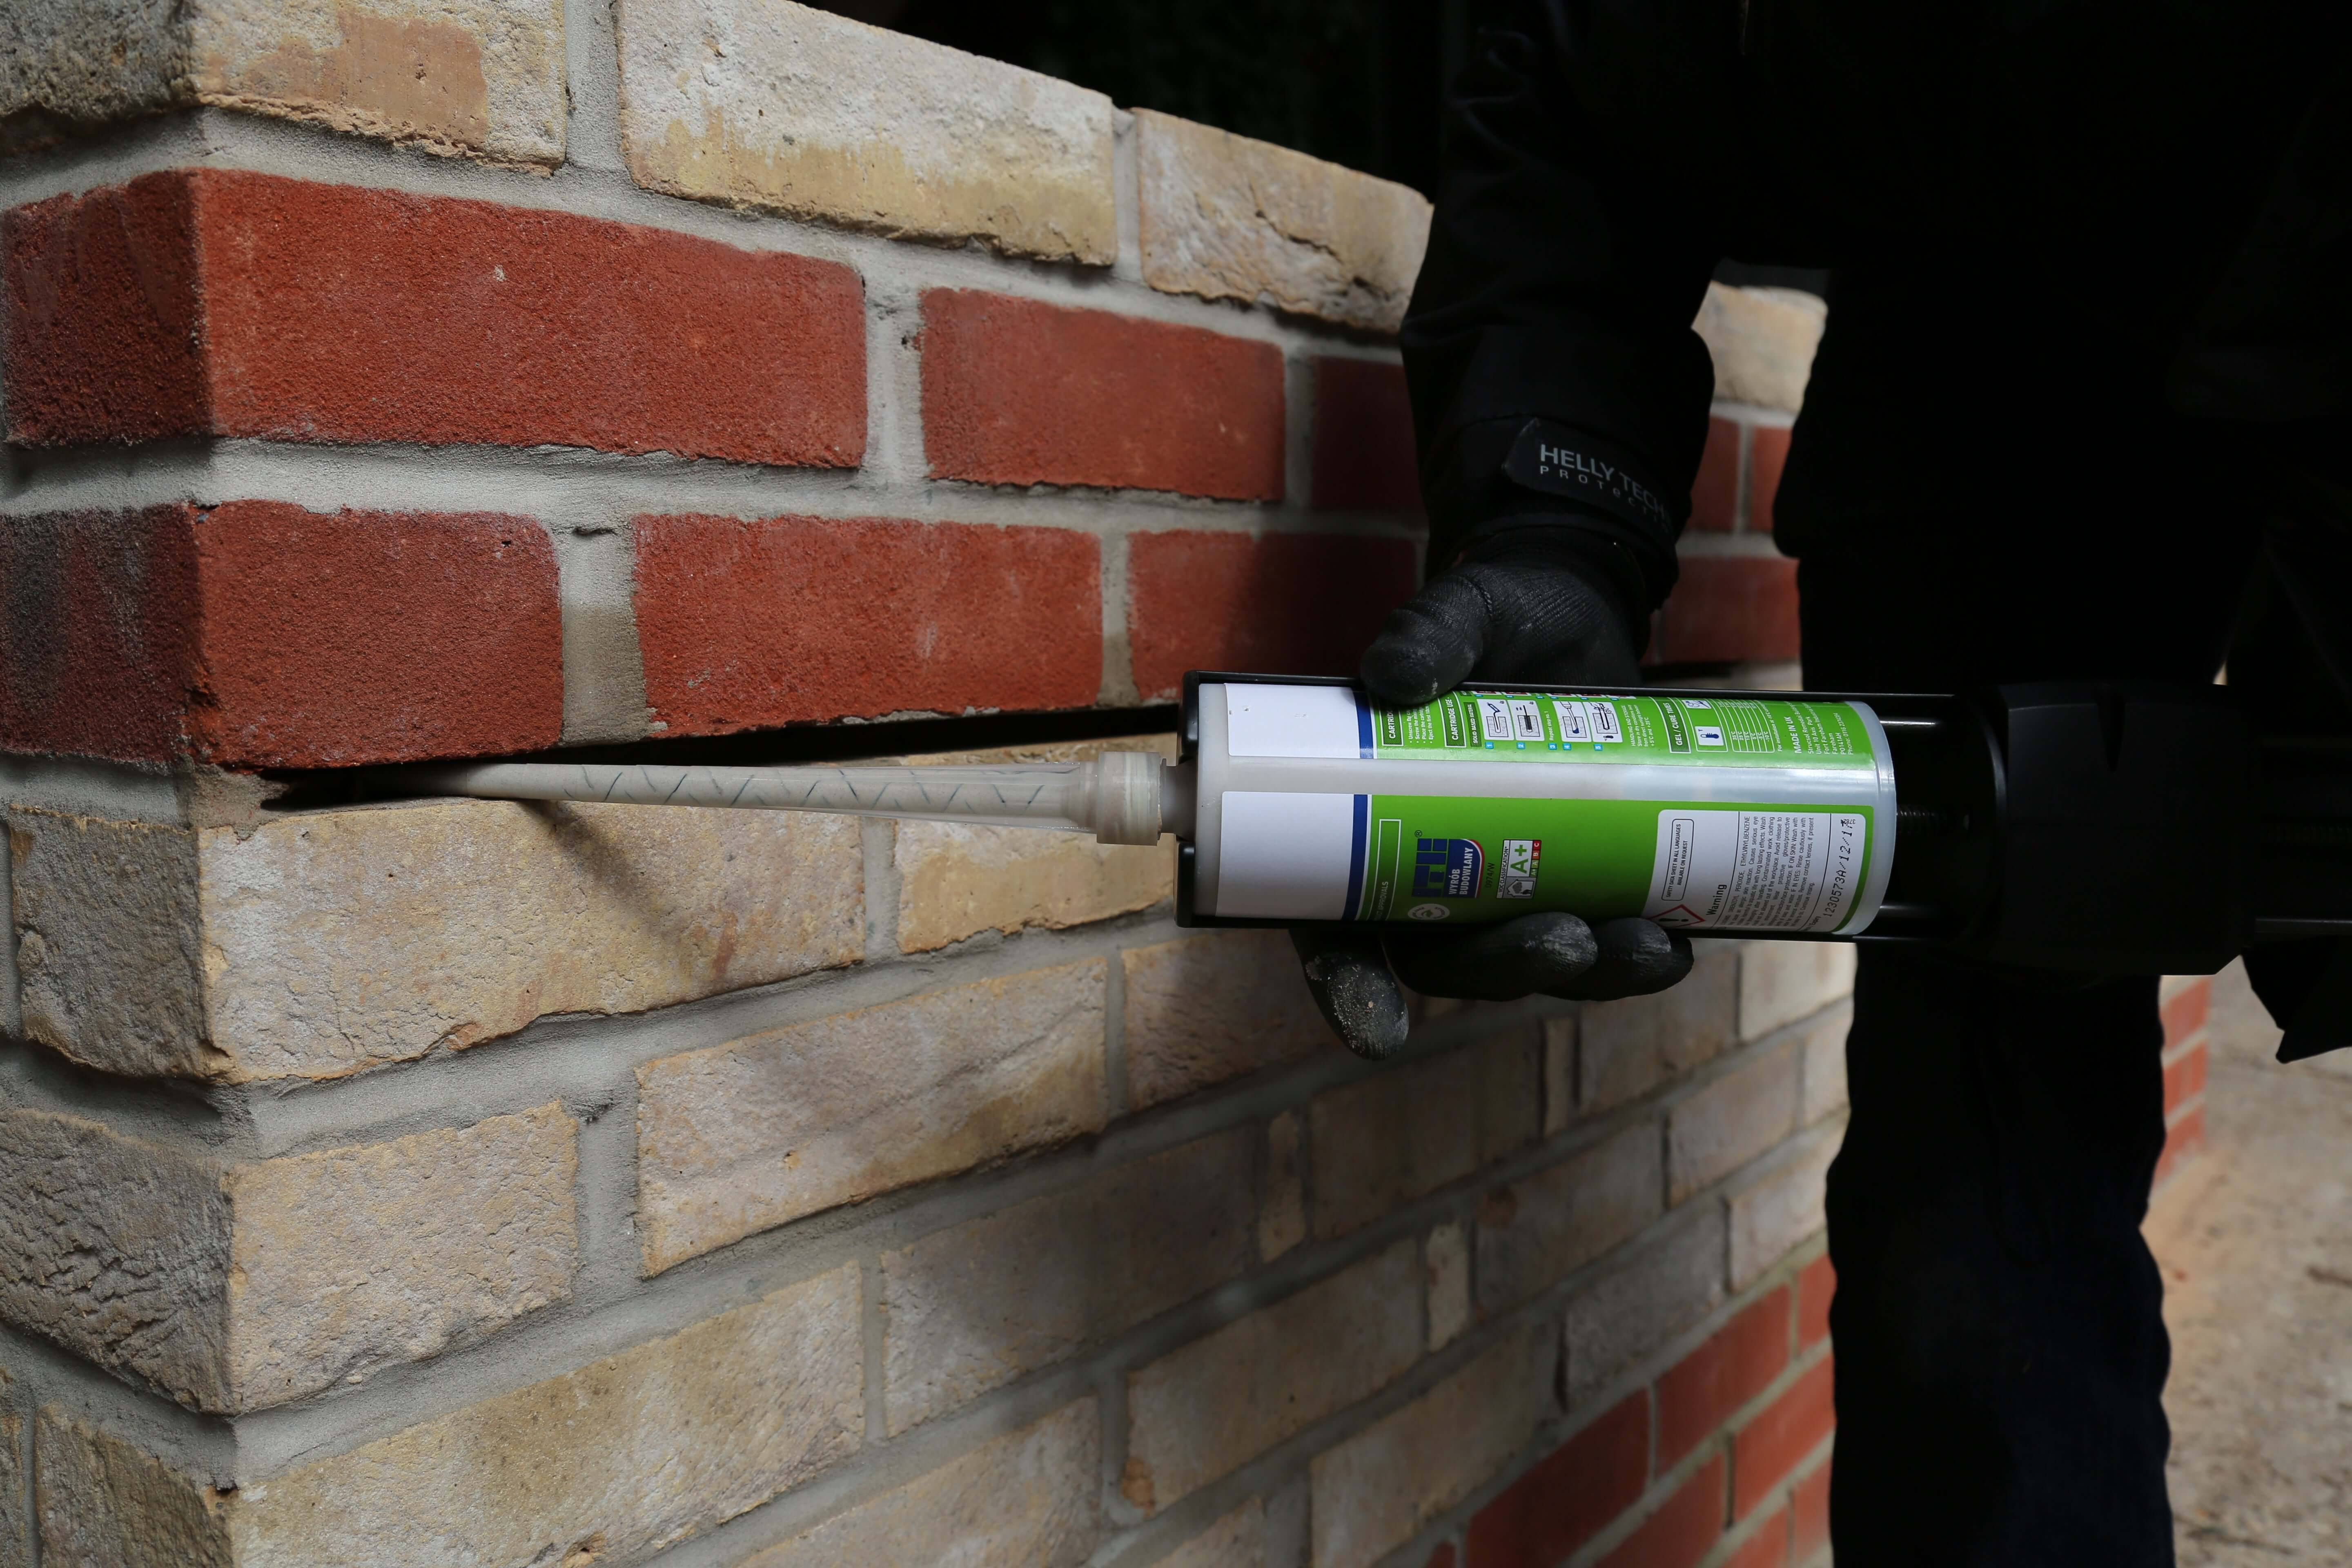
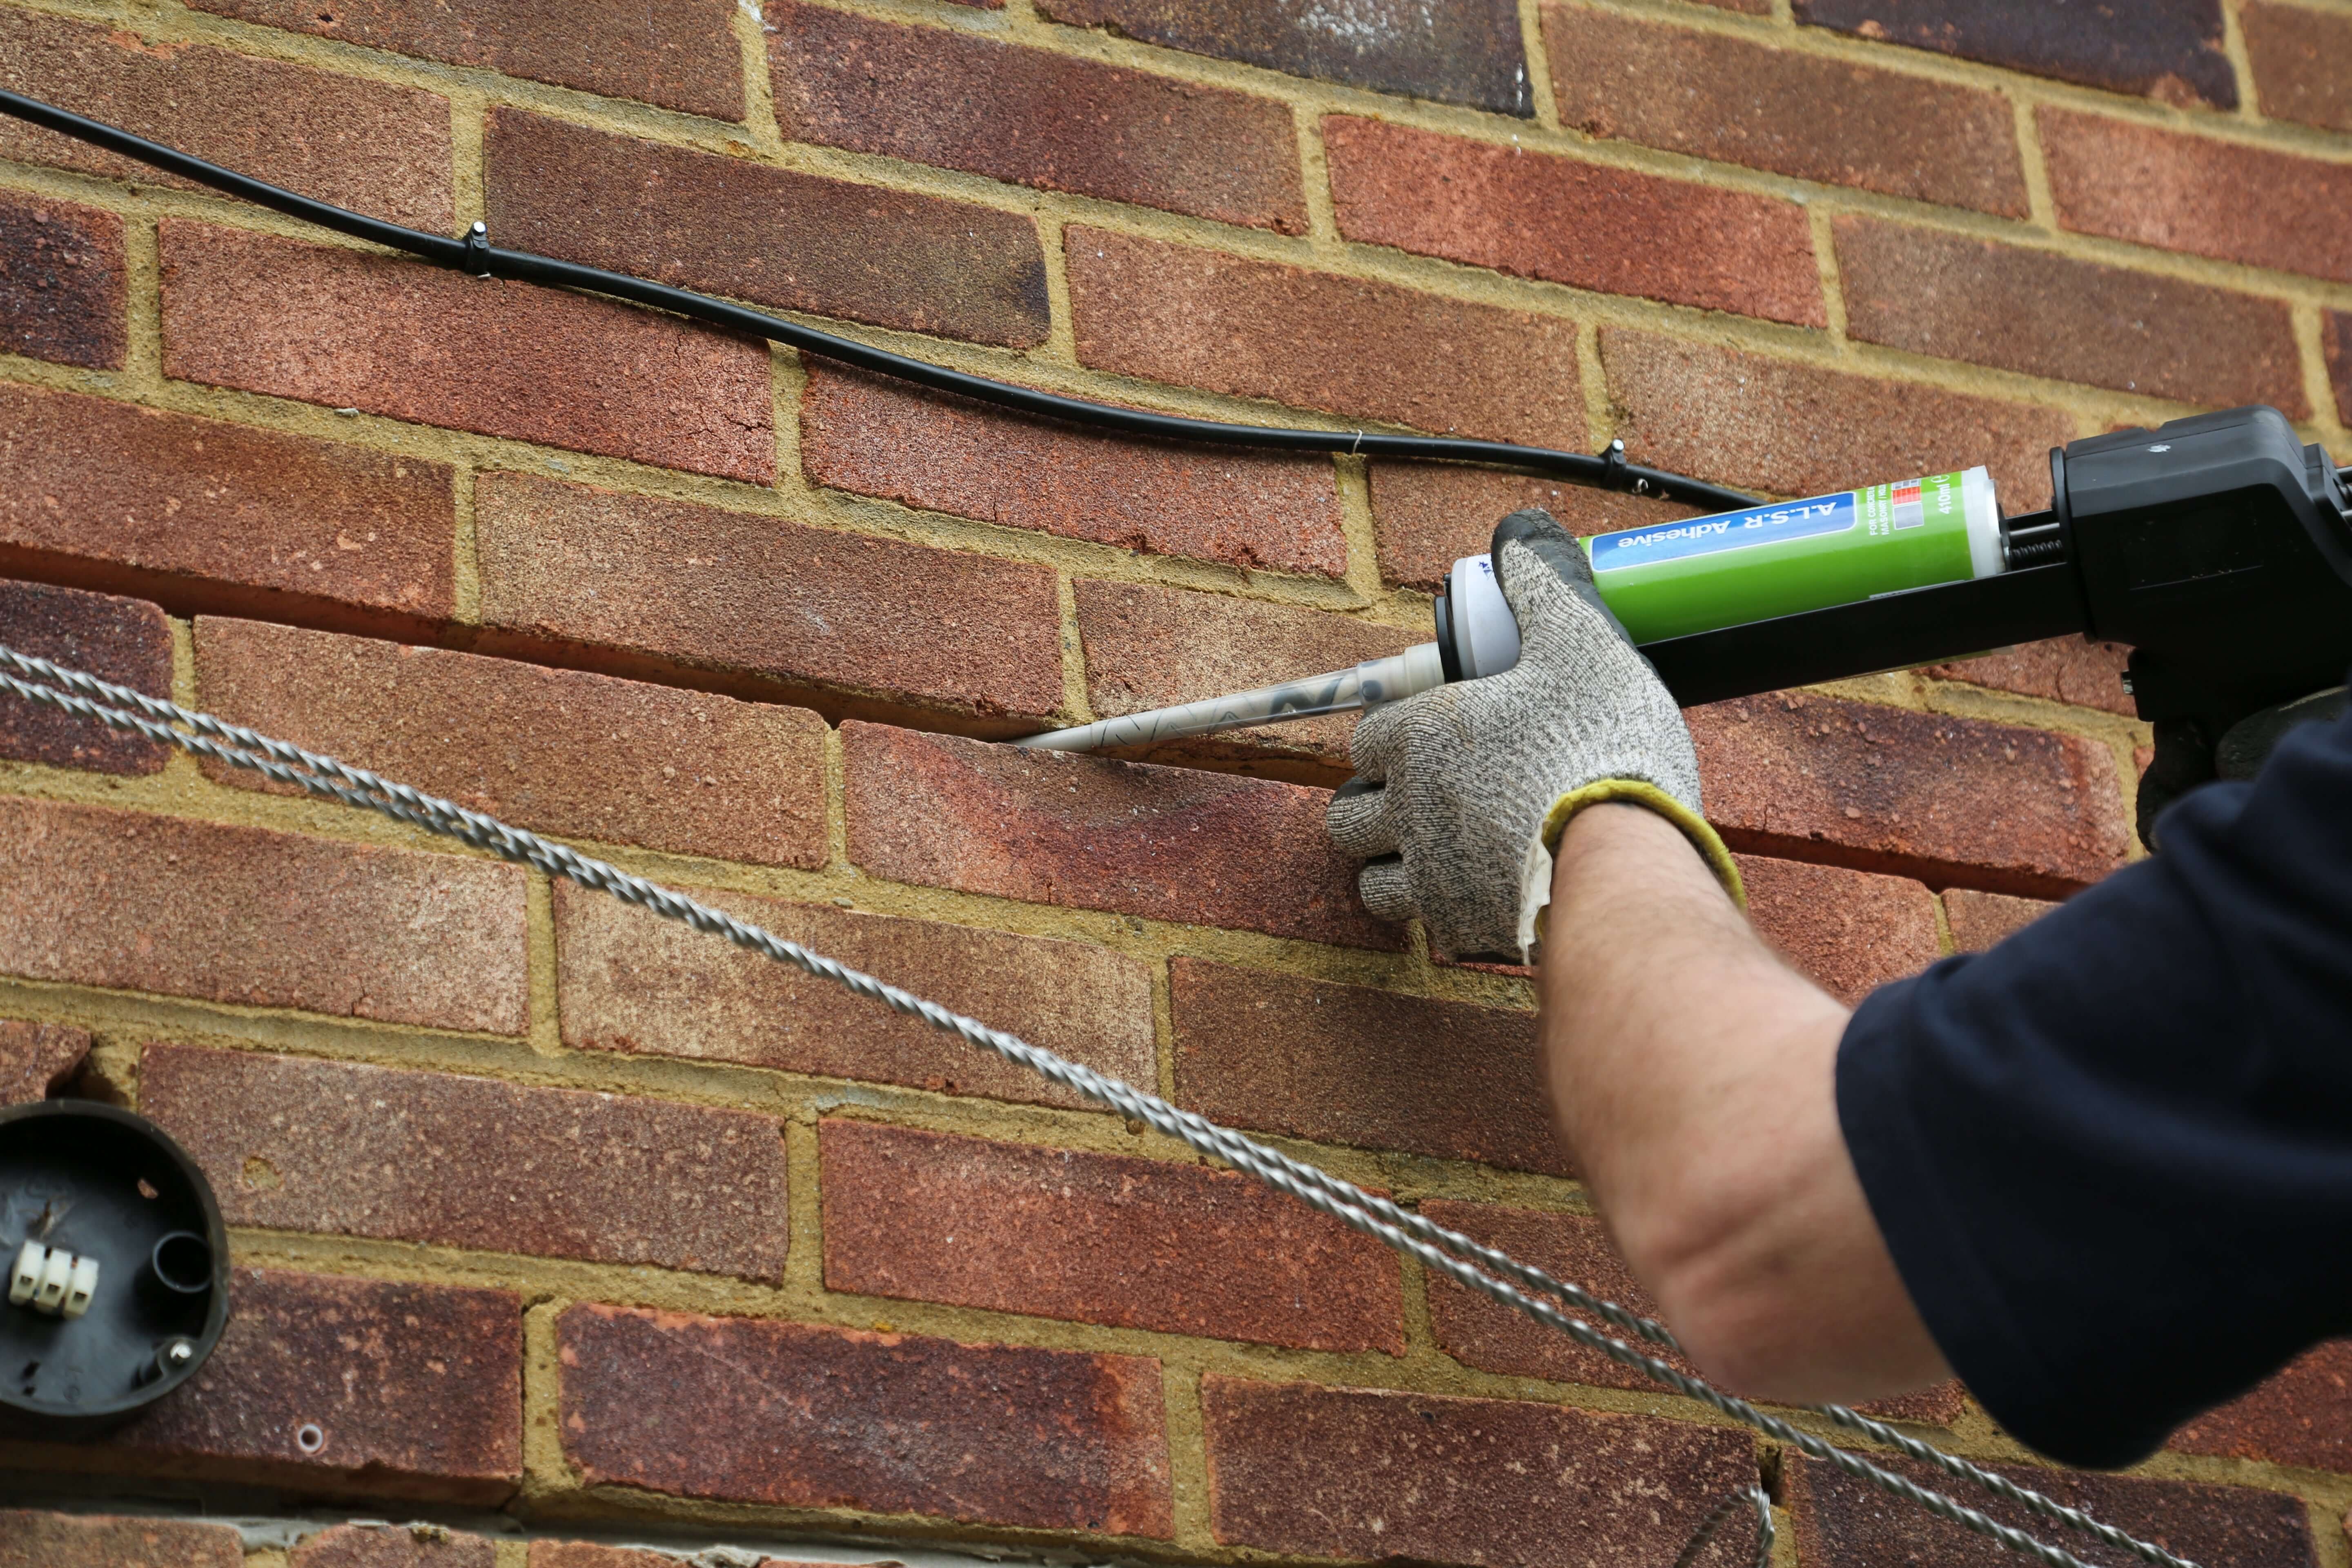
- Pump the grout into the back of the slot, creating a continuous, even bead that fills approximately two-thirds of the slot depth.
- Inserting the Helical Bar:
- Firmly push the helical bar into the grout, ensuring that it extends 500mm on either side of the crack.
- Second Grout Bead:
- Apply a second bead of grout into the slot, ensuring complete coverage of the bar.
- Use the provided trowel to force the grout into the slot until it is approximately 10mm from the surface. Make sure the bar and grout are firmly packed.
- Finishing Touches:
- Complete the process by restoring the bed joint and filling the vertical crack with an appropriate filler to match the surrounding masonry.
For additional details, refer to our comprehensive guide on Repairing Cracks in Walls. Additionally, if you’re dealing with failed lintels, our lintel repair guide provides insights into identifying and fixing issues using helical bars.
For a full and comprehensive guide on how to complete these repairs, please check out the Crack Stitching Repairs Guide
- Choosing a selection results in a full page refresh.
!


![Strucsol (Heavy Duty) Ultrabar Composite® Crack Stitch Brick Repair Kit [SMALL].](http://strucsol.co.uk/cdn/shop/files/UBCOMPSMALLAMAZON.jpg?v=1748464081)
![Strucsol (Heavy Duty) Ultrabar Composite® Crack Stitch Brick Repair Kit [SMALL].](http://strucsol.co.uk/cdn/shop/files/UltrabarCompositeMain_da994be1-59a9-411c-a8d0-c93bf2bc54c2.png?v=1748464079)
![Strucsol (Heavy Duty) Ultrabar Composite® Crack Stitch Brick Repair Kit [SMALL].](http://strucsol.co.uk/cdn/shop/files/IMG_1689.jpg?v=1748464088)
![Strucsol (Heavy Duty) Ultrabar Composite® Crack Stitch Brick Repair Kit [SMALL].](http://strucsol.co.uk/cdn/shop/files/Bendingphoto_ultrabarcomposite_689e4026-7dd3-41d9-9b82-3ec7f38deaea.png?v=1748464083)
![Strucsol (Heavy Duty) Ultrabar Composite® Crack Stitch Brick Repair Kit [SMALL].](http://strucsol.co.uk/cdn/shop/files/ebay3resin.jpg?v=1748464084)
![Strucsol (Heavy Duty) Ultrabar Composite® Crack Stitch Brick Repair Kit [MEDIUM].](http://strucsol.co.uk/cdn/shop/files/UBCOMPMEDAMAZON.jpg?v=1748464047)
![Strucsol (Heavy Duty) Ultrabar Composite® Crack Stitch Brick Repair Kit [MEDIUM].](http://strucsol.co.uk/cdn/shop/files/UltrabarCompositeMain_ccdbd269-f783-4c7b-bd51-a43c320bda46.png?v=1748464044)
![Strucsol (Heavy Duty) Ultrabar Composite® Crack Stitch Brick Repair Kit [MEDIUM].](http://strucsol.co.uk/cdn/shop/files/Bendingphoto_ultrabarcomposite_609aa17b-baec-4097-a923-3e2f0b32cee7.png?v=1748464048)
![Strucsol (Heavy Duty) Ultrabar Composite® Crack Stitch Brick Repair Kit [MEDIUM].](http://strucsol.co.uk/cdn/shop/files/ebay3resin_1402c665-7b38-4367-a586-9d5d05975ef6.jpg?v=1748464051)
![Strucsol (Heavy Duty) Ultrabar Composite® Crack Stitch Brick Repair Kit [MEDIUM].](http://strucsol.co.uk/cdn/shop/files/Ebayresingun_766bbfd7-b86d-45f3-b2df-dc0400c597fb.jpg?v=1748464052)
