
Crack Stitch Repairs
Crack stitch repairs are a highly effective method for restoring the strength and stability of damaged brickwork, ensuring your property remains safe and structurally sound. This technique is particularly valuable for addressing cracks caused by subsidence, thermal movement, or general wear and tear over time.
The process involves the strategic insertion of helical bars, often referred to as crack stitching bars, into carefully cut mortar joints along the affected area. These bars, typically made from stainless steel, are bonded in place using a high-strength resin or masonry grout, creating a reinforced connection that distributes stress evenly across the brickwork. Unlike traditional methods that may require extensive rebuilding, crack stitching is minimally invasive, preserving the original appearance of the structure while providing long-lasting support.
A stitching kit, such as a heli bar kit, includes all the necessary components for the repair, making it accessible for both professionals and DIY enthusiasts. The process begins with assessing the crack and preparing the mortar joints to accommodate the bars. Once inserted, the helical bars and resin work together to lock the brickwork in place, preventing further movement and deterioration. This method, known as brickwork stitching or brick stitching, is ideal for both minor cosmetic cracks and more serious structural issues.
Whether you’re dealing with a single crack or widespread damage, crack stitch repairs offer a cost-effective, durable solution. By reinforcing the brickwork from within, this technique ensures your property remains secure, maintaining its value and aesthetic appeal for years to come. If you’re considering a repair, a crack stitching approach provides peace of mind with minimal disruption.
Read below for a guide on how to complete these repairs.
Here are the step-by-step instructions.
Below you will also find
- A helpful video
- A collection of detailed application-specific method statements
Step One
Cutting the slot
Begin by cutting a slot in the mortar bed (mortar raking blade can be found here), positioned just over 500mm on either side of the vertical crack. The slot depth should be appropriate for the wall thickness (refer to specifications).

Step Two
Rake out the joints
Ensure that all mortar is completely removed to expose the top and bottom faces of the masonry.
Step Three
Remove Debris
Flush the joint with water to clean it thoroughly.
Note: Typically, vertical spacing between slots should be every 4 to 6 brick courses. If you’re uncertain, consult a structural engineer.

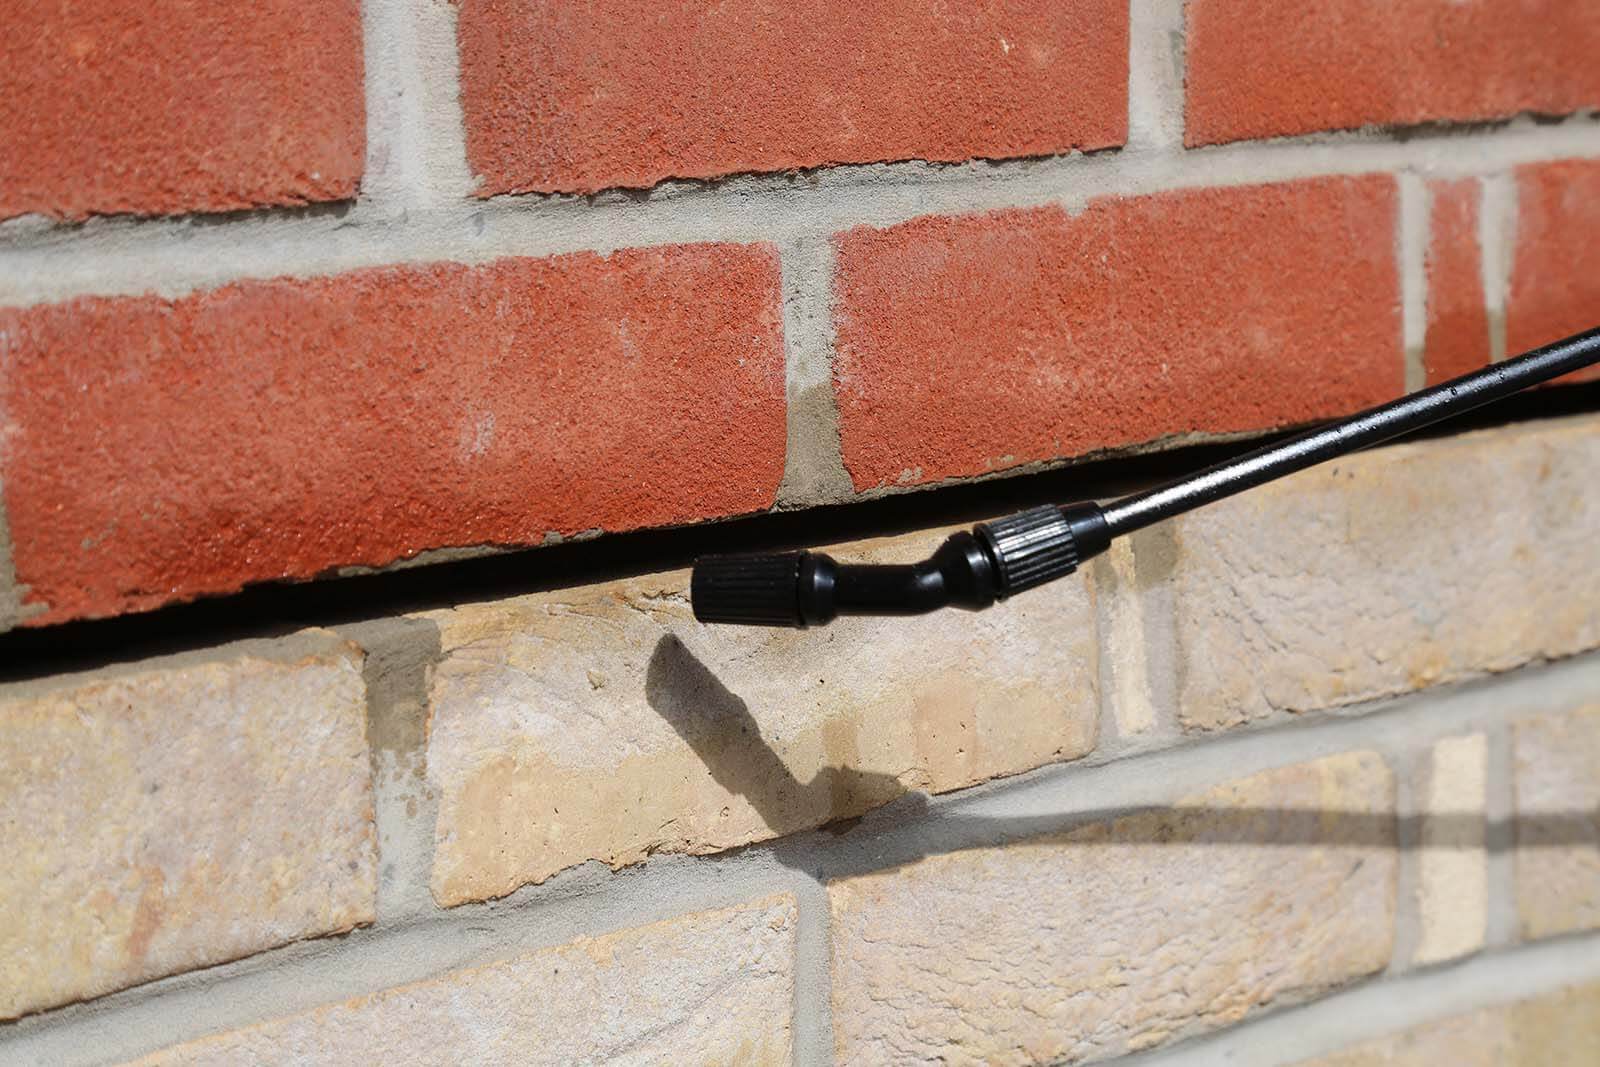
Step Four
Grout Mixing and Loading
- Thoroughly mix the grout using the provided paddle mixer.
- Load the mixed grout into the application gun.
- Pump the grout into the back of the slot, creating a continuous, even bead that fills approximately two-thirds of the slot depth.
Step Five
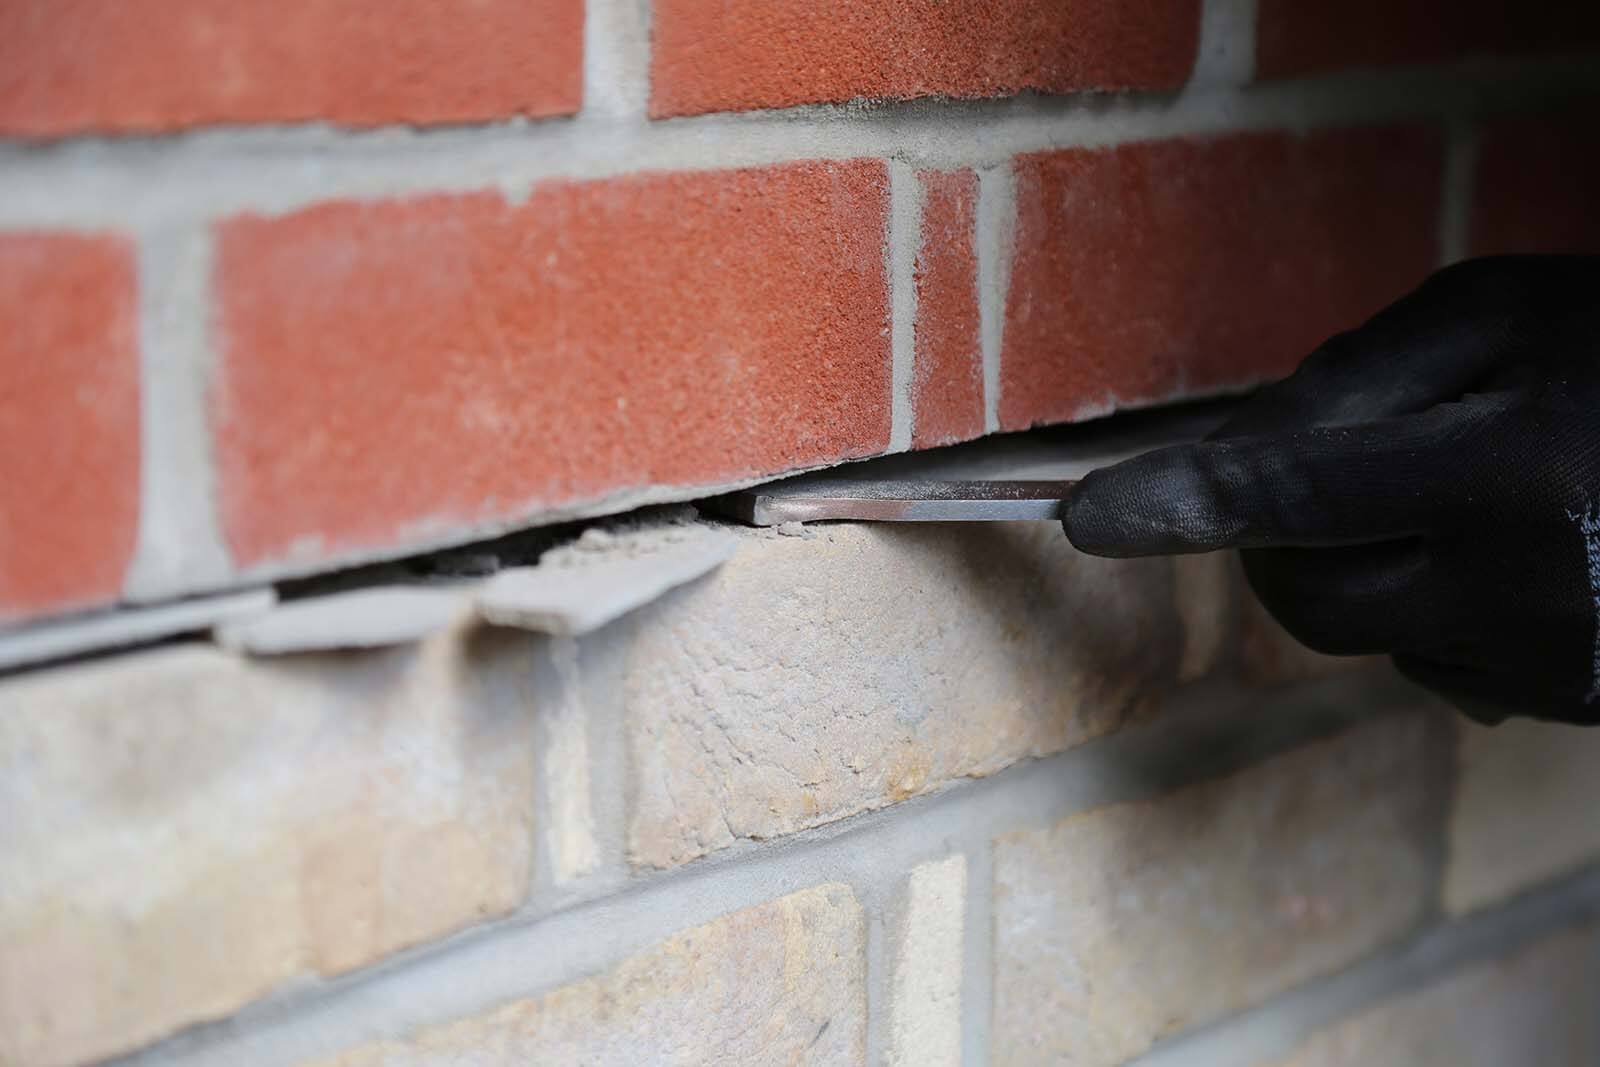
Inserting the Helical Bar
Firmly push the helical bar into the grout, ensuring that it extends 500mm on either side of the crack.


Step Six
Second Grout Bead
Apply a second bead of grout into the slot, ensuring complete coverage of the bar.
Use the provided trowel to force the grout into the slot until it is approximately 10mm from the surface. Make sure the bar and grout are firmly packed.
Finishing Touches:
Complete the process by restoring the bed joint and filling the vertical crack with an appropriate filler to match the surrounding masonry.
Step Seven
Using the colour matching brick repair mortar

HOW TO VIDEO
Crack Stitching
In this video we show you a simplified process of installing the helical bar to repair the crack.
Choose from the available options of crack stitching kits to suit your preference
Crack Stitch Kits
6mm Crack Stitch Repair Kit Stainless Steel Helical Bar (5M)


6mm Crack Stitch Repair Kit Stainless Steel Helical Bar (5M)
Price
£68.08
6mm Crack Stitch Repair Kit Stainless Steel Helical Bar (10M)


6mm Crack Stitch Repair Kit Stainless Steel Helical Bar (10M)
Price
£89.33
Strucsol Ultrabar Composite Crack Stitch Repair Kit (5M)
![Strucsol (Heavy Duty) Ultrabar Composite® Crack Stitch Brick Repair Kit [SMALL].](http://strucsol.co.uk/cdn/shop/files/UBCOMPSMALLAMAZON.jpg?v=1780574123)
![Strucsol (Heavy Duty) Ultrabar Composite® Crack Stitch Brick Repair Kit [SMALL].](http://strucsol.co.uk/cdn/shop/files/UltrabarCompositeMain_da994be1-59a9-411c-a8d0-c93bf2bc54c2.png?v=1780574161)
![Strucsol (Heavy Duty) Ultrabar Composite® Crack Stitch Brick Repair Kit [SMALL].](http://strucsol.co.uk/cdn/shop/files/IMG_1689.jpg?v=1780574159)
![Strucsol (Heavy Duty) Ultrabar Composite® Crack Stitch Brick Repair Kit [SMALL].](http://strucsol.co.uk/cdn/shop/files/Bendingphoto_ultrabarcomposite_689e4026-7dd3-41d9-9b82-3ec7f38deaea.png?v=1780574165)
![Strucsol (Heavy Duty) Ultrabar Composite® Crack Stitch Brick Repair Kit [SMALL].](http://strucsol.co.uk/cdn/shop/files/ebay3resin.jpg?v=1780574177)
Strucsol Ultrabar Composite Crack Stitch Repair Kit (5M)
Price
£72.47
Strucsol Ultrabar Composite Crack Stitch Repair Kit (10M)
![Strucsol (Heavy Duty) Ultrabar Composite® Crack Stitch Brick Repair Kit [MEDIUM].](http://strucsol.co.uk/cdn/shop/files/UBCOMPMEDAMAZON.jpg?v=1780574180)
![Strucsol (Heavy Duty) Ultrabar Composite® Crack Stitch Brick Repair Kit [MEDIUM].](http://strucsol.co.uk/cdn/shop/files/UltrabarCompositeMain_ccdbd269-f783-4c7b-bd51-a43c320bda46.png?v=1780574178)
![Strucsol (Heavy Duty) Ultrabar Composite® Crack Stitch Brick Repair Kit [MEDIUM].](http://strucsol.co.uk/cdn/shop/files/Bendingphoto_ultrabarcomposite_609aa17b-baec-4097-a923-3e2f0b32cee7.png?v=1780574179)
![Strucsol (Heavy Duty) Ultrabar Composite® Crack Stitch Brick Repair Kit [MEDIUM].](http://strucsol.co.uk/cdn/shop/files/ebay3resin_1402c665-7b38-4367-a586-9d5d05975ef6.jpg?v=1780574187)
![Strucsol (Heavy Duty) Ultrabar Composite® Crack Stitch Brick Repair Kit [MEDIUM].](http://strucsol.co.uk/cdn/shop/files/Ebayresingun_766bbfd7-b86d-45f3-b2df-dc0400c597fb.jpg?v=1780574186)
Strucsol Ultrabar Composite Crack Stitch Repair Kit (10M)
Price
£90.82


Crack Stitch Repair Kit | Strucsol 300ml Kit
Price
From £30.98


Detailed Crack Stitching Method Statements
- Choosing a selection results in a full page refresh.
!