
Cavity Wall Ties | Replacement of failed wall ties
What Are Cavity Wall Ties and Remedial Wall Ties, and How Do You Install Them?
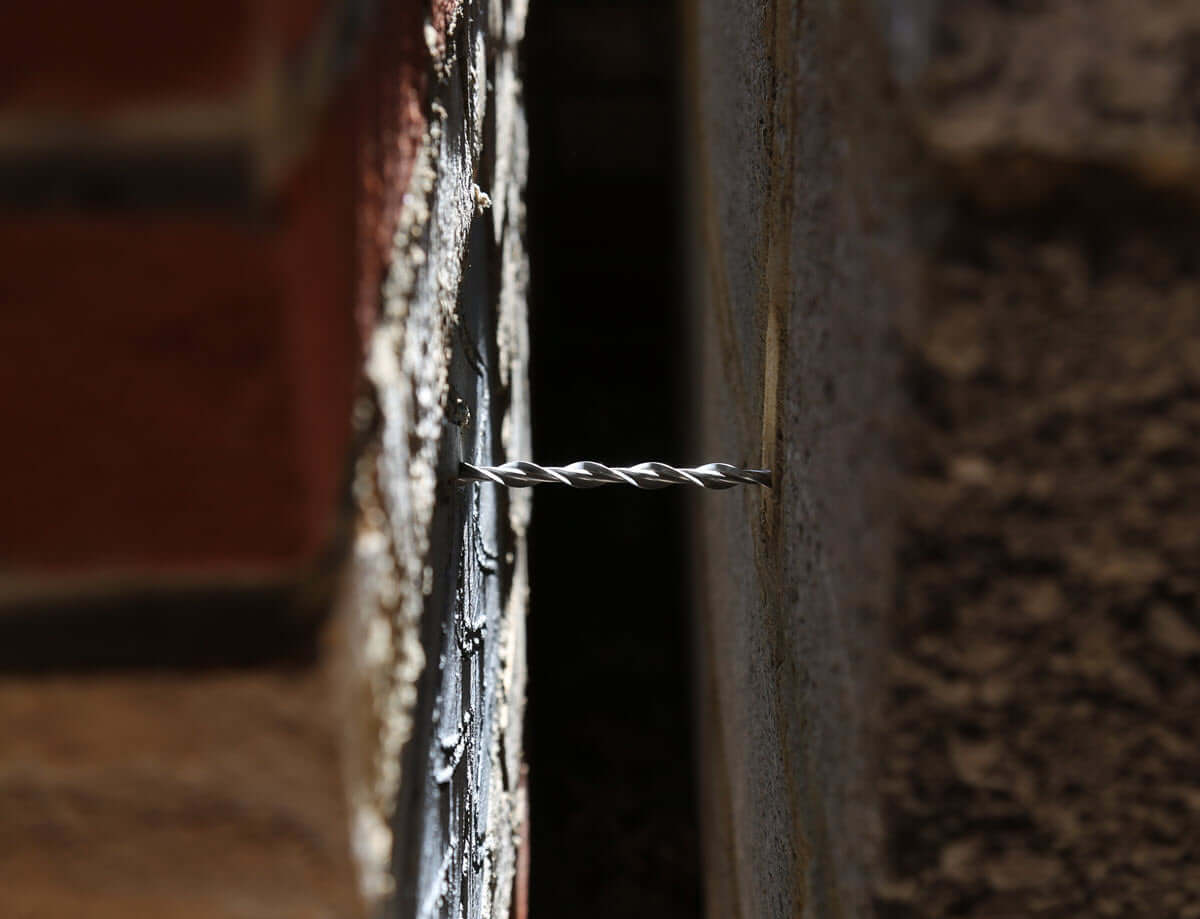
Remedial wall ties are essential for restoring the structural integrity of buildings where the original cavity wall ties have failed due to corrosion or poor installation. Our high-performance helical wall ties (also known as screw-in wall ties, brick ties for existing walls, or brickwork ties) are engineered to provide a reliable, long-term solution for stabilising cavity walls in both residential and commercial properties. These stainless steel wall ties are easy to install and offer excellent resistance to moisture and structural movement, ensuring your walls remain safe and secure.
Whatever term you know them by, helical ties, retrofit wall ties, or replacement wall ties, our range is built to suit brick, block, and stone construction, and is ideal for wall ties for existing walls where the original tie has corroded, sheared, or was never installed to spec.
HOW TO VIDEO
Cavity Wall Ties
Retrofitting cavity wall ties using Strucsol Locties

Frequently Asked Questions about Wall Ties
Cavity Wall Ties vs. Remedial Wall Ties: What's The Difference?
The terminology around wall ties is wide-ranging, and it's common for the two types to be used interchangeably, but they serve different purposes.
Cavity wall ties are the ties built into a wall during original construction. As a cavity wall goes up, the ties are laid into the mortar bed joints at regular intervals to mechanically connect the inner and outer leaves, so the two skins of brick or block move and behave as one structural wall rather than two independent ones.
Remedial wall ties are installed after the fact, to correct a problem with those original ties. This is typically needed when older wall ties, often mild steel in properties built before the 1980s, have corroded, expanded, and begun cracking the surrounding mortar, or where ties are missing, insufficient in number, or were fitted incorrectly. Rather than being laid into fresh mortar, remedial wall ties are installed by drilling into the existing masonry and fixing the tie into both leaves, usually with a resin or mechanical fixing.
In short: cavity wall ties are the original structural component; remedial wall ties are the retrofit repair product used to restore or reinforce a cavity wall once the originals have failed. Browse our full range of remedial and replacement wall ties here.
What Size Pilot Hole Do I Need To Drill?
Anyone telling you a single pilot hole size fits every job isn't giving you the full picture. Using a standardised pilot hole across different materials can lead to underperforming ties or a difficult installation. As a general rule, harder materials need a larger pilot drill, and softer materials need a smaller diameter pilot hole. For example:
- Drilling through a blue engineering brick may need a 7mm pilot hole for an 8mm diameter wall tie.
- Fixing into AAC or lightweight block requires no pilot hole in the inner leaf; a pilot drill is only needed in the outer leaf.
- Soft to medium hardness brick, in both the inner and outer leaf, will typically need a 6mm or 6.5mm diameter pilot drill.
For consistent results, install your ties using our dedicated wall tie install tool, or speed up larger jobs with our automatic wall tie install tool. Once ties are installed, disguise the pilot holes cleanly using our colour-matching brick repair mortar for a discreet, professional finish.
What Affects Wall Tie Pull Out Strength?
The amount of force required to pull a wall tie out of the wall matters, because installed ties are there to resist wind suction loads acting on the wall.
Wind suction loads vary depending on location. Coastal and northern areas experience higher wind loads than sheltered inland areas, which means higher-capacity ties or a greater tie density is often required. Taller buildings are more exposed to high winds and need even greater resistance to wind suction.
The Strucsol Engineering team has been designing cavity and remedial wall tie specifications, from skyscrapers to cottages, for more than 30 years. We provide free advice and consultations for one-off customers, trade contractors, and specifiers alike. Get in touch by phone or email and we'll be happy to help.
How To Establish Wall Thickness and Cavity Width
Before selecting a wall tie, you need to know your wall thickness and cavity width. There are two reliable methods:
Caliper Method
- Measure the overall thickness of the wall near a door opening or window reveal. This is easiest done using a wall calliper and gauge: simply measure the width across the caliper jaws at the open point, subtract 30mm from the overall wall width, and you have your appropriate wall tie length.

Pilot Drill Method
- Use a 6mm x 260mm drill bit. From the outside of the wall, drill to approximately 110mm depth; you should feel the drill bit pressure drop as it breaks into the cavity. Mark or pinch the drill bit at its abutment with the wall, extract it, and measure the distance; this gives you the thickness of the outer leaf.
- Reinsert the drill bit and push it further into the wall until you hit resistance. Mark or pinch the bit again at the wall face, then extract and measure. Subtracting your first measurement (outer leaf thickness) from this second measurement gives you the cavity width.
Both methods are quick and straightforward, and give you the confidence to choose the correct wall tie length for the job.
Note: cavity width commonly varies across a building due to inconsistencies in original construction. On larger jobs involving multiple walls, it's best practice to check several locations rather than assume uniformity.
Once you know your cavity width and wall thickness, use the table below to select the correct helical wall tie length:

What Size Wall Tie Do I Need?
| Tie length | Cavity Suitability | Wall thickness minimum |
| 195mm | 5mm-45mm | 210mm |
| 210mm | 10mm-60mm | 240mm |
| 220mm | 15mm 70mm | 250mm |
| 240mm | 50mm-90mm | 270mm |
| 270mm | 100mm-120mm | 300mm |
Minimum embedment in inner leaf 70mm unless the installation has been tensile proof tested.
Shop our 8mm wall ties for standard retrofit applications, or our 9mm heavy-duty wall ties where higher load capacity is required.
Installation tools & repointing pilot holes
For consistent results, install your ties using our dedicated wall tie install tool, or speed up larger jobs with our automatic wall tie install tool. Once ties are installed, disguise the pilot holes cleanly using our colour-matching brick repair mortar for a discreet, professional finish.
The Strucsol Engineering team has been designing cavity and remedial wall tie specifications, from skyscrapers to cottages, for more than 30 years. We provide free advice and consultations for one-off customers, trade contractors, and specifiers alike. Get in touch by phone or email and we'll be happy to help.
Detailed Wall Tie Method Statements
- Choosing a selection results in a full page refresh.
!